


Diamond painting is a relatively new and immensely fun craft project for crafters both young and old that requires you to take tiny pieces of diamond shaped, flat backed rhinestones and to place them onto a sticky template to create a stunning and somewhat different 3D image. Diamond painting therefore does not have anything to do with actual painting; it is thought to be more of a combination of cross stitch, paint by numbers and mosaics. The process can look a little intimidating at the beginning, and designs can vary from relatively simple to quite elaborate and complicated. But the process is simple and once you know what you are doing thanks to our diamond painting instructions, these projects are both relaxing and rewarding.
As with any craft activity, a few expert tips and tricks will go a long way in making the crafting much more enjoyable and the end result that much neater and cleaner. We have been enjoying the diamond painting craft here at Dreamers Designs for a while now and have put together a list suitable for both beginners and experts to relish in. We want to ensure that you are making the most of your kits and that you are getting the best possible results from your time and hard work.
Tip 1: Take a breath
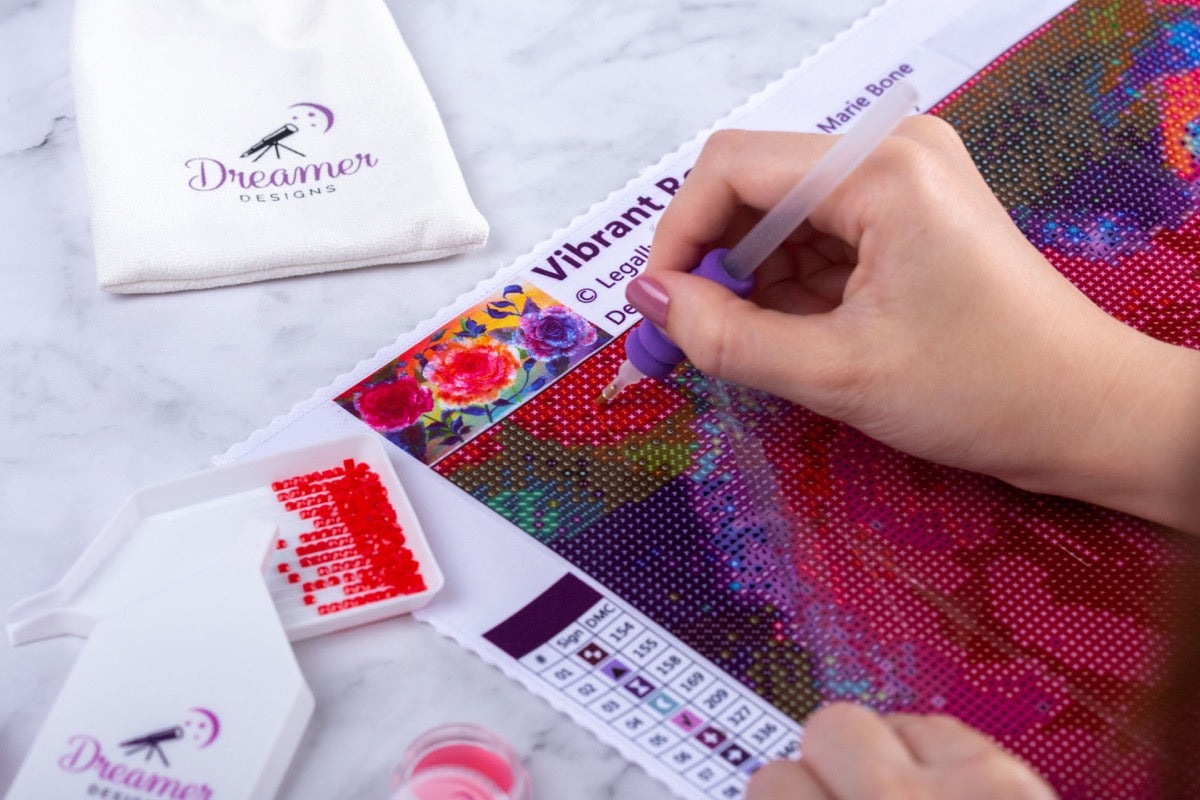
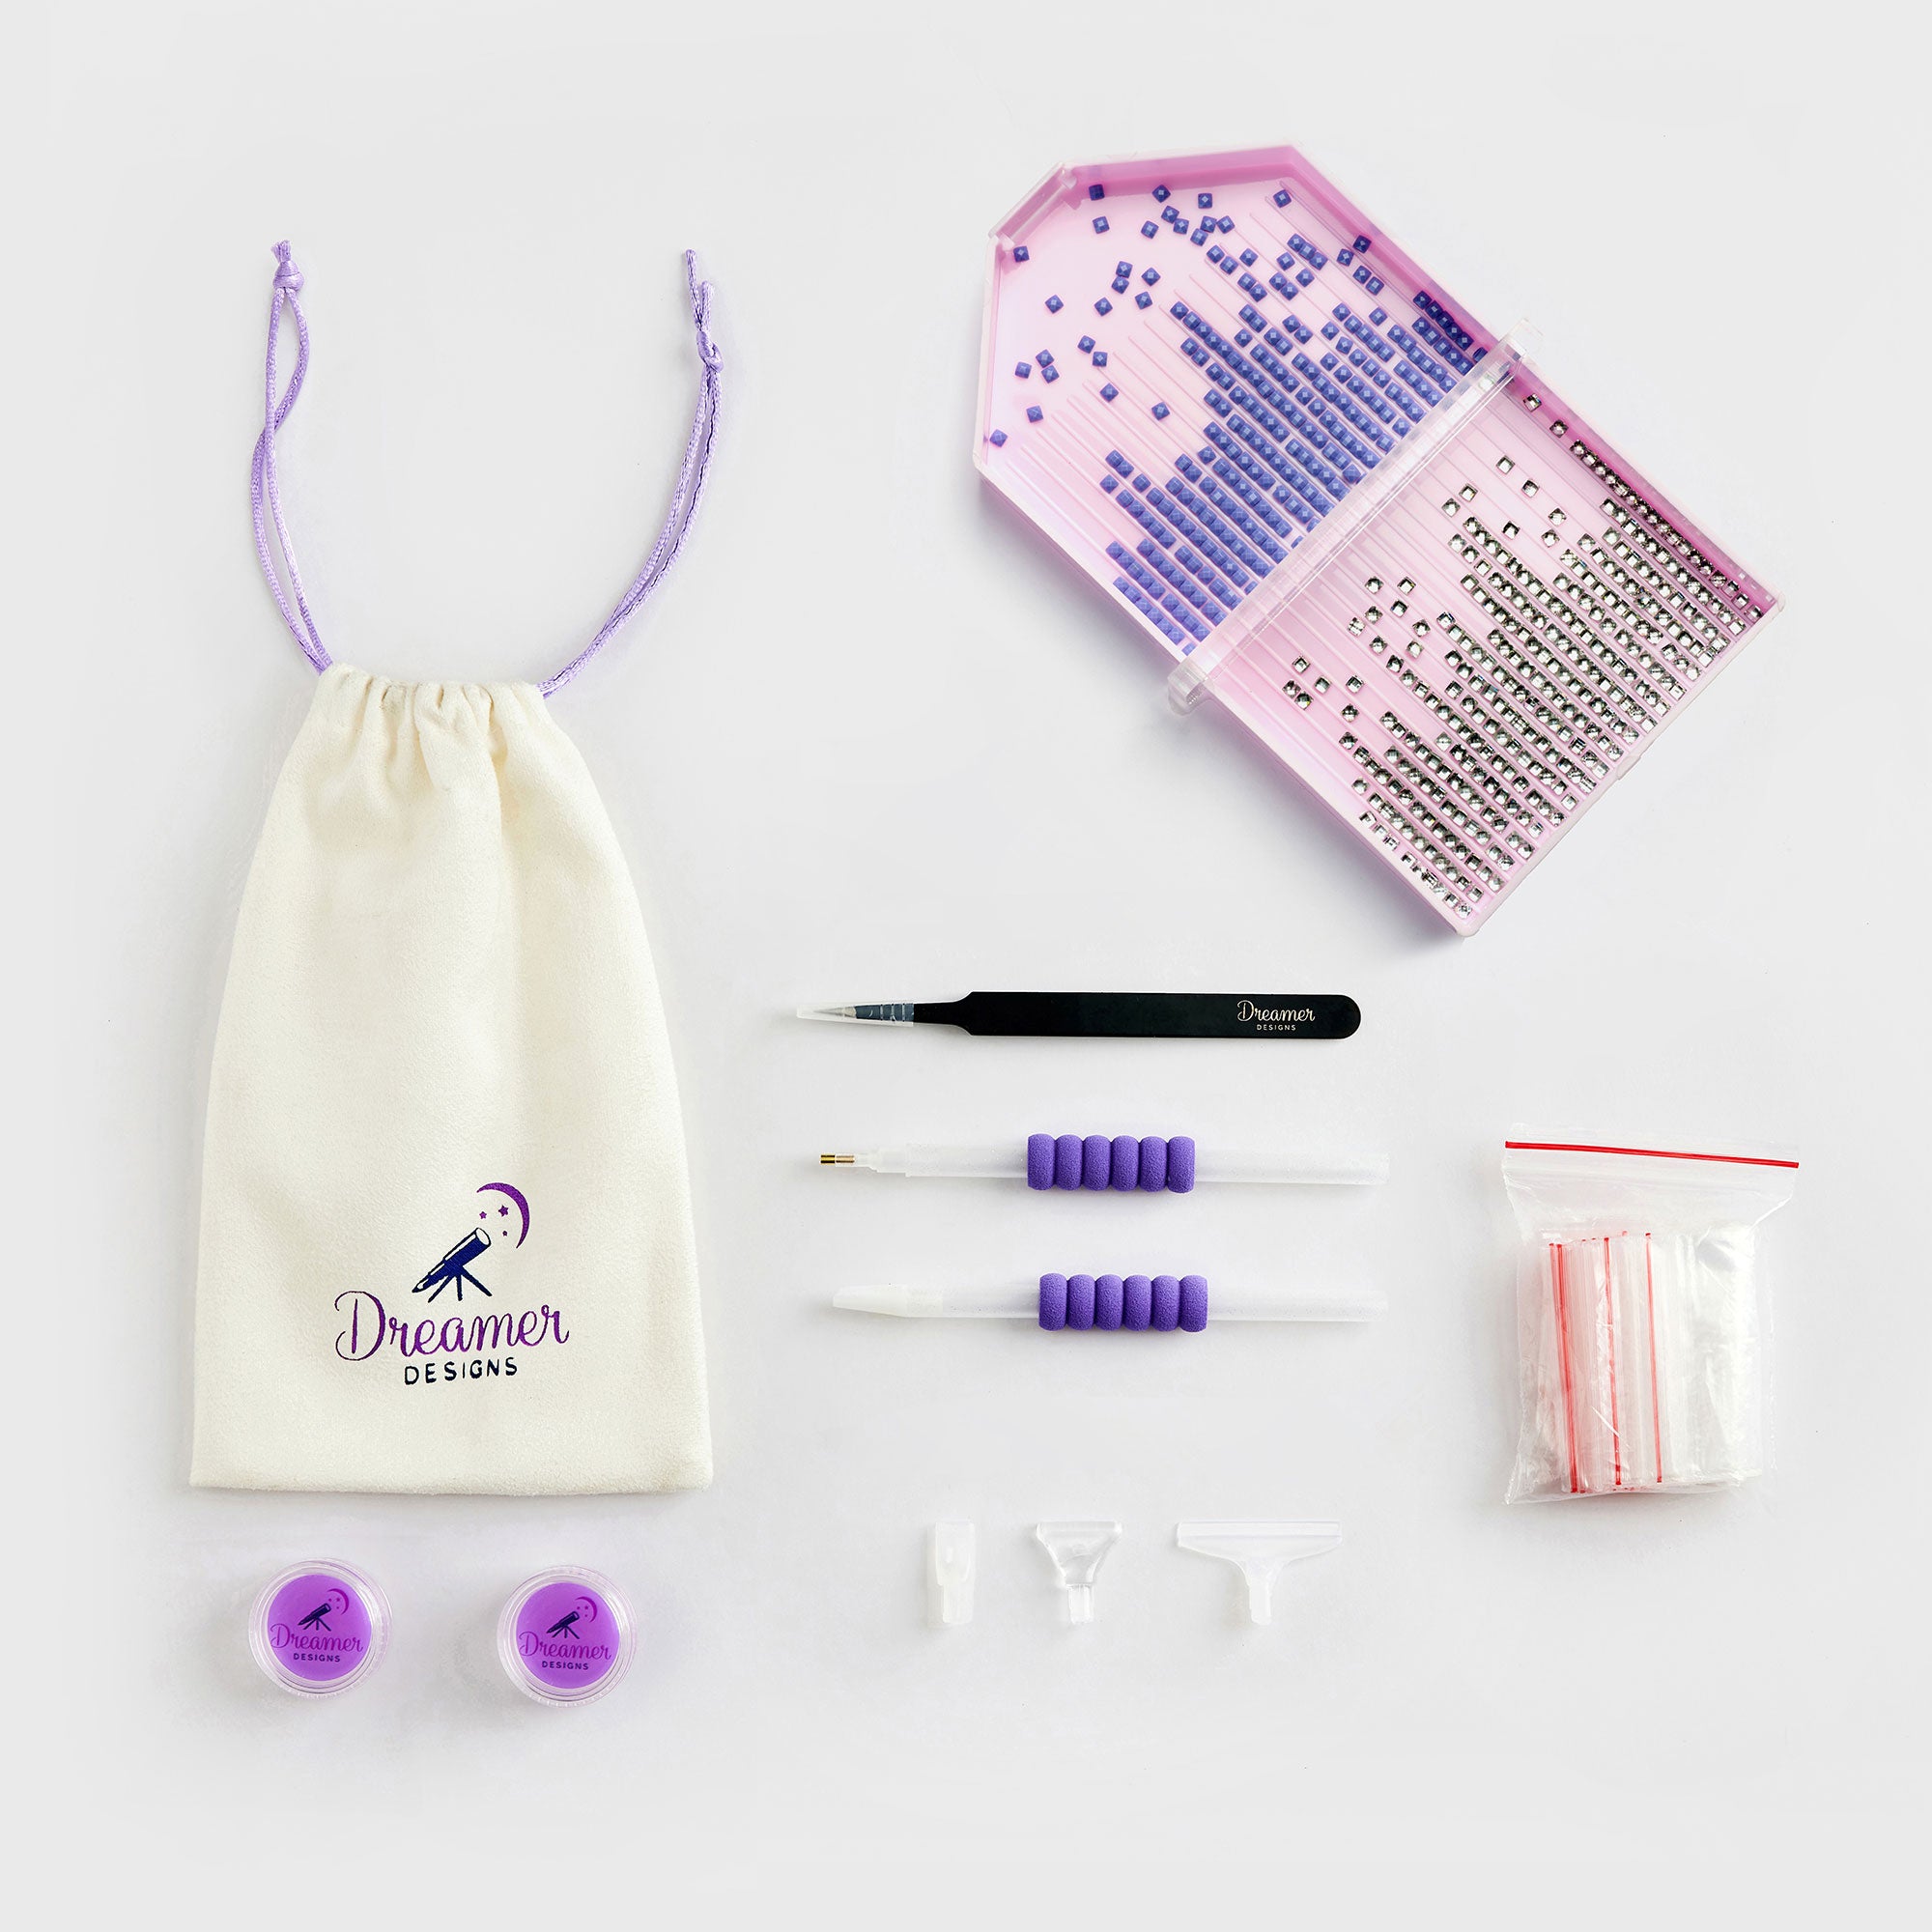
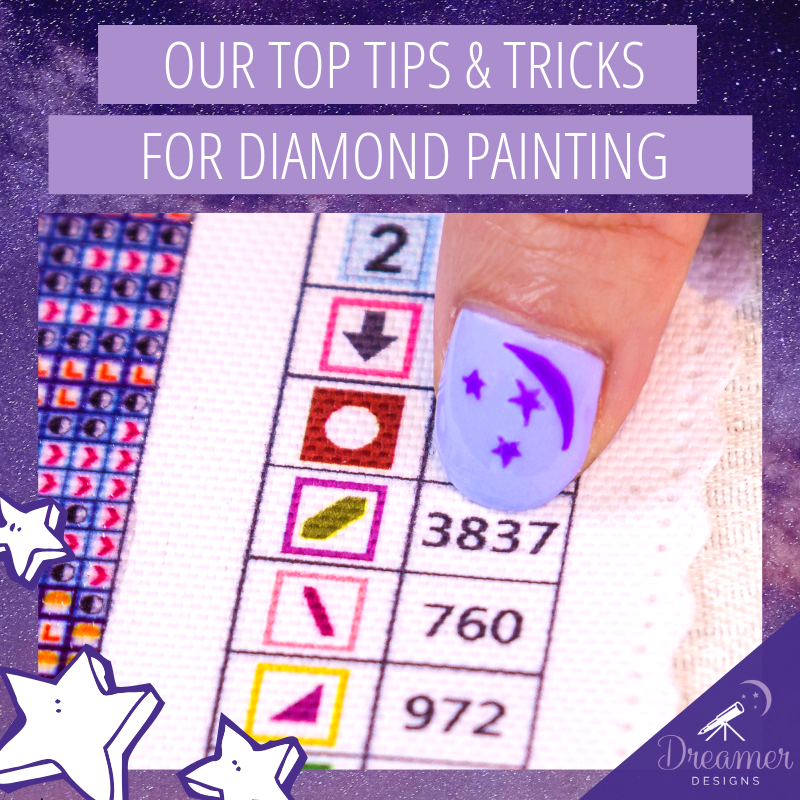
Firstly, as many of us keen crafters know to do but sometimes forget in the rush and excitement of starting a new project, it is essential that we review the chart and legend carefully. It might be useful to label each bag of diamonds with the symbol used for each color as this will help you identify the correct color quickly as you go. It may also be useful should you do several of our diamond paintings to invest in a bead tray of close-able containers to help you keep organized.

Tip 2: Regarding the diamonds
As you begin to work on one particular color within the section you are working on, you pour a small amount of the diamond rhinestones into the tray provided in your kit. Shake your tray to help settle the diamonds and take the time to position the diamonds flat side down so that you can use the applicator tool quickly and easily.
If you find that the diamonds stick together and do not want to spend hours individually separating them with your fingers, simply place a second tray over the top of your tray of diamonds and apply pressure. The immensely satisfying popping sound eliminates hours of tedious sorting.
If you want to work with several colours at once, we suggest that you use different trays for each different colour and again, label these trays to avoid confusion and increase efficiency.
Tip 3: Roll with it
Our canvases are rolled up so that they can be transported easily without fear of creasing or damage. As with any rolled paper, the edges may curve up slightly at first. In order to flatten the canvas completely, lay it down and lift up each corner of the clear plastic cover before flattening it back down again. The action of lifting up and sticking back down the adhesive whilst the canvas is flat will easily and successfully flatten out the canvas.

Tip 4: Stick to the point
Unless you have done a diamond painting before, you may not know that it is very important that you do not peel the plastic backing entirely off the canvas template. As careful as you may be, dust, dirt and fuzz from your clothes will find its way onto your canvas and not only will your template lose its tackiness and you may find that rhinestones do not adhere as well, your finished product may not look as clean as you would like. So in order to keep the sticky stuff free from unwanted lint and fibres, we suggest to only reveal the section that you are working on at any given time.

You may have worked with other canvases that have glue extending past the design itself in a sticky border however you wont have to worry about that with Dreamer Designs.
Tip 5: Where to begin?
We believe it is easiest to start from the bottom corner of the design and work your way upwards and inwards in order to keep your hands away from any adhesive.
Tip 6: Pretty patterns
When working with a large block of a singular color, many diamond painters find it very hard to keep their lines in neat and even rows, resulting in eye-attracting faults. By placing your diamonds in a checkerboard fashion, where you place a diamond in every second square, leaving one square free and on the next line placing the diamond under that empty square, you will find you produce a straighter result. You can use tweezers to straighten out any rogue pieces as you go. Take your time, it is not a race.
Tip 7: A tidy workspace is a happy workspace
Remember to tidy up your workspace before you take a break. By wrapping up your applicator tool with some plastic and keeping your wax caddy closed and covered, you can extend the life of them immensely. Clean your applicator tool regularly. Using fresh wax limits the chance that there is any lint or dust present.

Also remember to cover your canvas with the protective film to protect the rhinestones and the adhesive layer before you take a break.
Tip 8: What’s next?
Many people present their finished diamond paintings as wall hangings or in a frame. But you can also make a pillow by sewing together a fabric border and backing and stuffing with pillow filling. Our canvases also make excellent gifts and can be gifted incomplete or as a finished canvas. Your imagination really is your only limitation here.
We hope these top tips and tricks have been of great interest to all of you diamond painting enthusiasts out there. We love the meditative and relaxing experience as we spend hours recreating the template designs and hope you do as well.
Sources:
https://www.herrschners.com/topic/intro+to+diamond+painting.do
https://www.creativewish-homeliving.com/blogs/inspiring-crafts/diamond-painting-tips-tricks
https://www.youtube.com/watch?v=mDfVWcjkQq4
https://www.wikihow.com/Diamond-Paint

3 comments
Hope
What do others do with the Extra Diamonds? I like to place them with same colors in little plastic bags. Incase I run out of some colors in other projects.
Karen Sisson
Thanks for the tips especially doing the checkerboard with square diamonds.
Cherry Yatco
Very helpful tips indeed!
Leave a comment
All comments are moderated before being published.
This site is protected by hCaptcha and the hCaptcha Privacy Policy and Terms of Service apply.