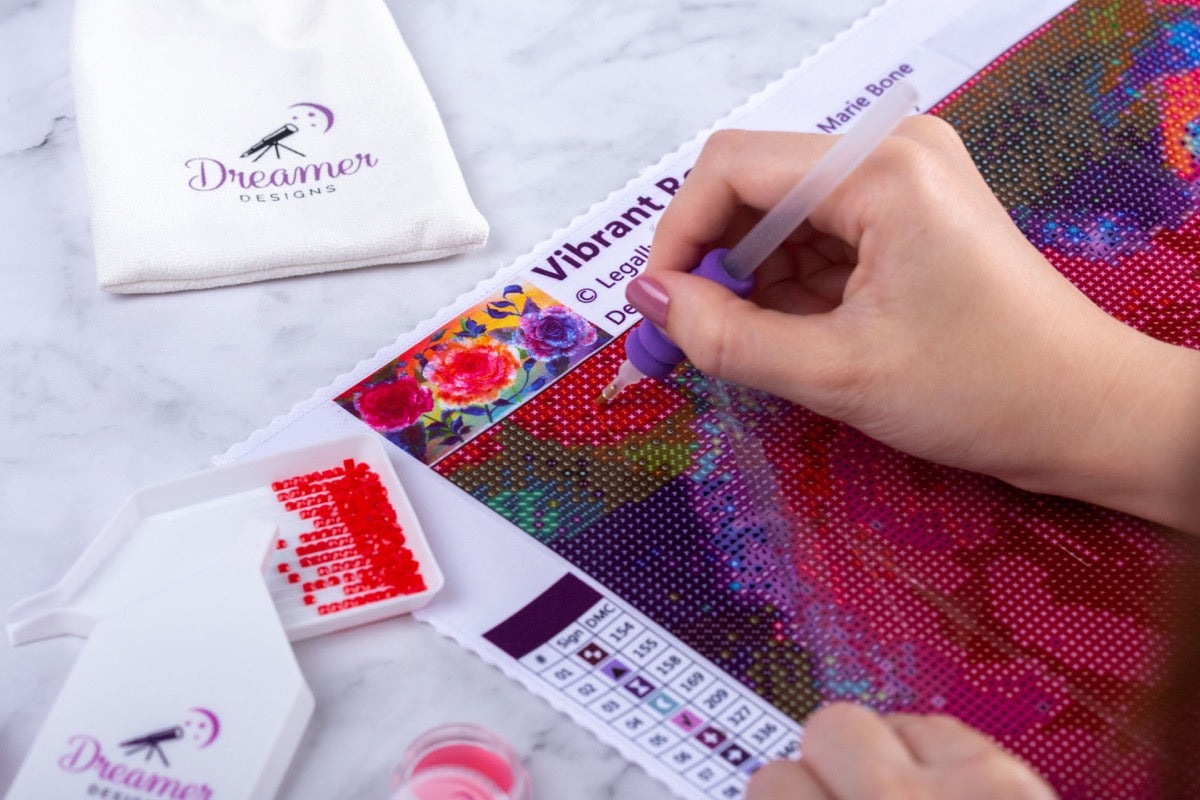


In this video we cover the basics when it comes to getting started on a new diamond painting. Whether you are a beginner or expert diamond painter, you are sure to pick up some helpful tips here. Pair these tips with our diamond painting instructions to fully cover all the basics.
Flattening your canvas
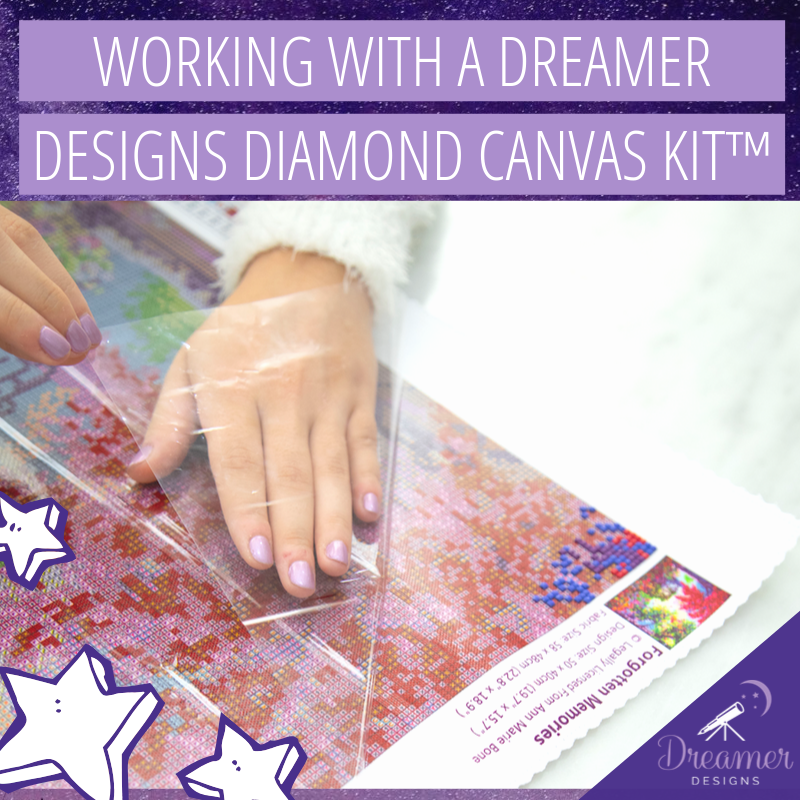
Our canvases are wrapped around a foam roller to protect it from creases and fold marks. This rolling technique means that when you are ready to start painting, the edges of your canvas may curl up. Do not fret, your canvas will be flat in no time. Simply pull back the plastic cover, hold each corner down firmly and press the cover back down onto the adhesive. Voila!
Pro Tip: Place a sticker on your clear canvas so that you can remember which way is up.
Organizing your diamonds
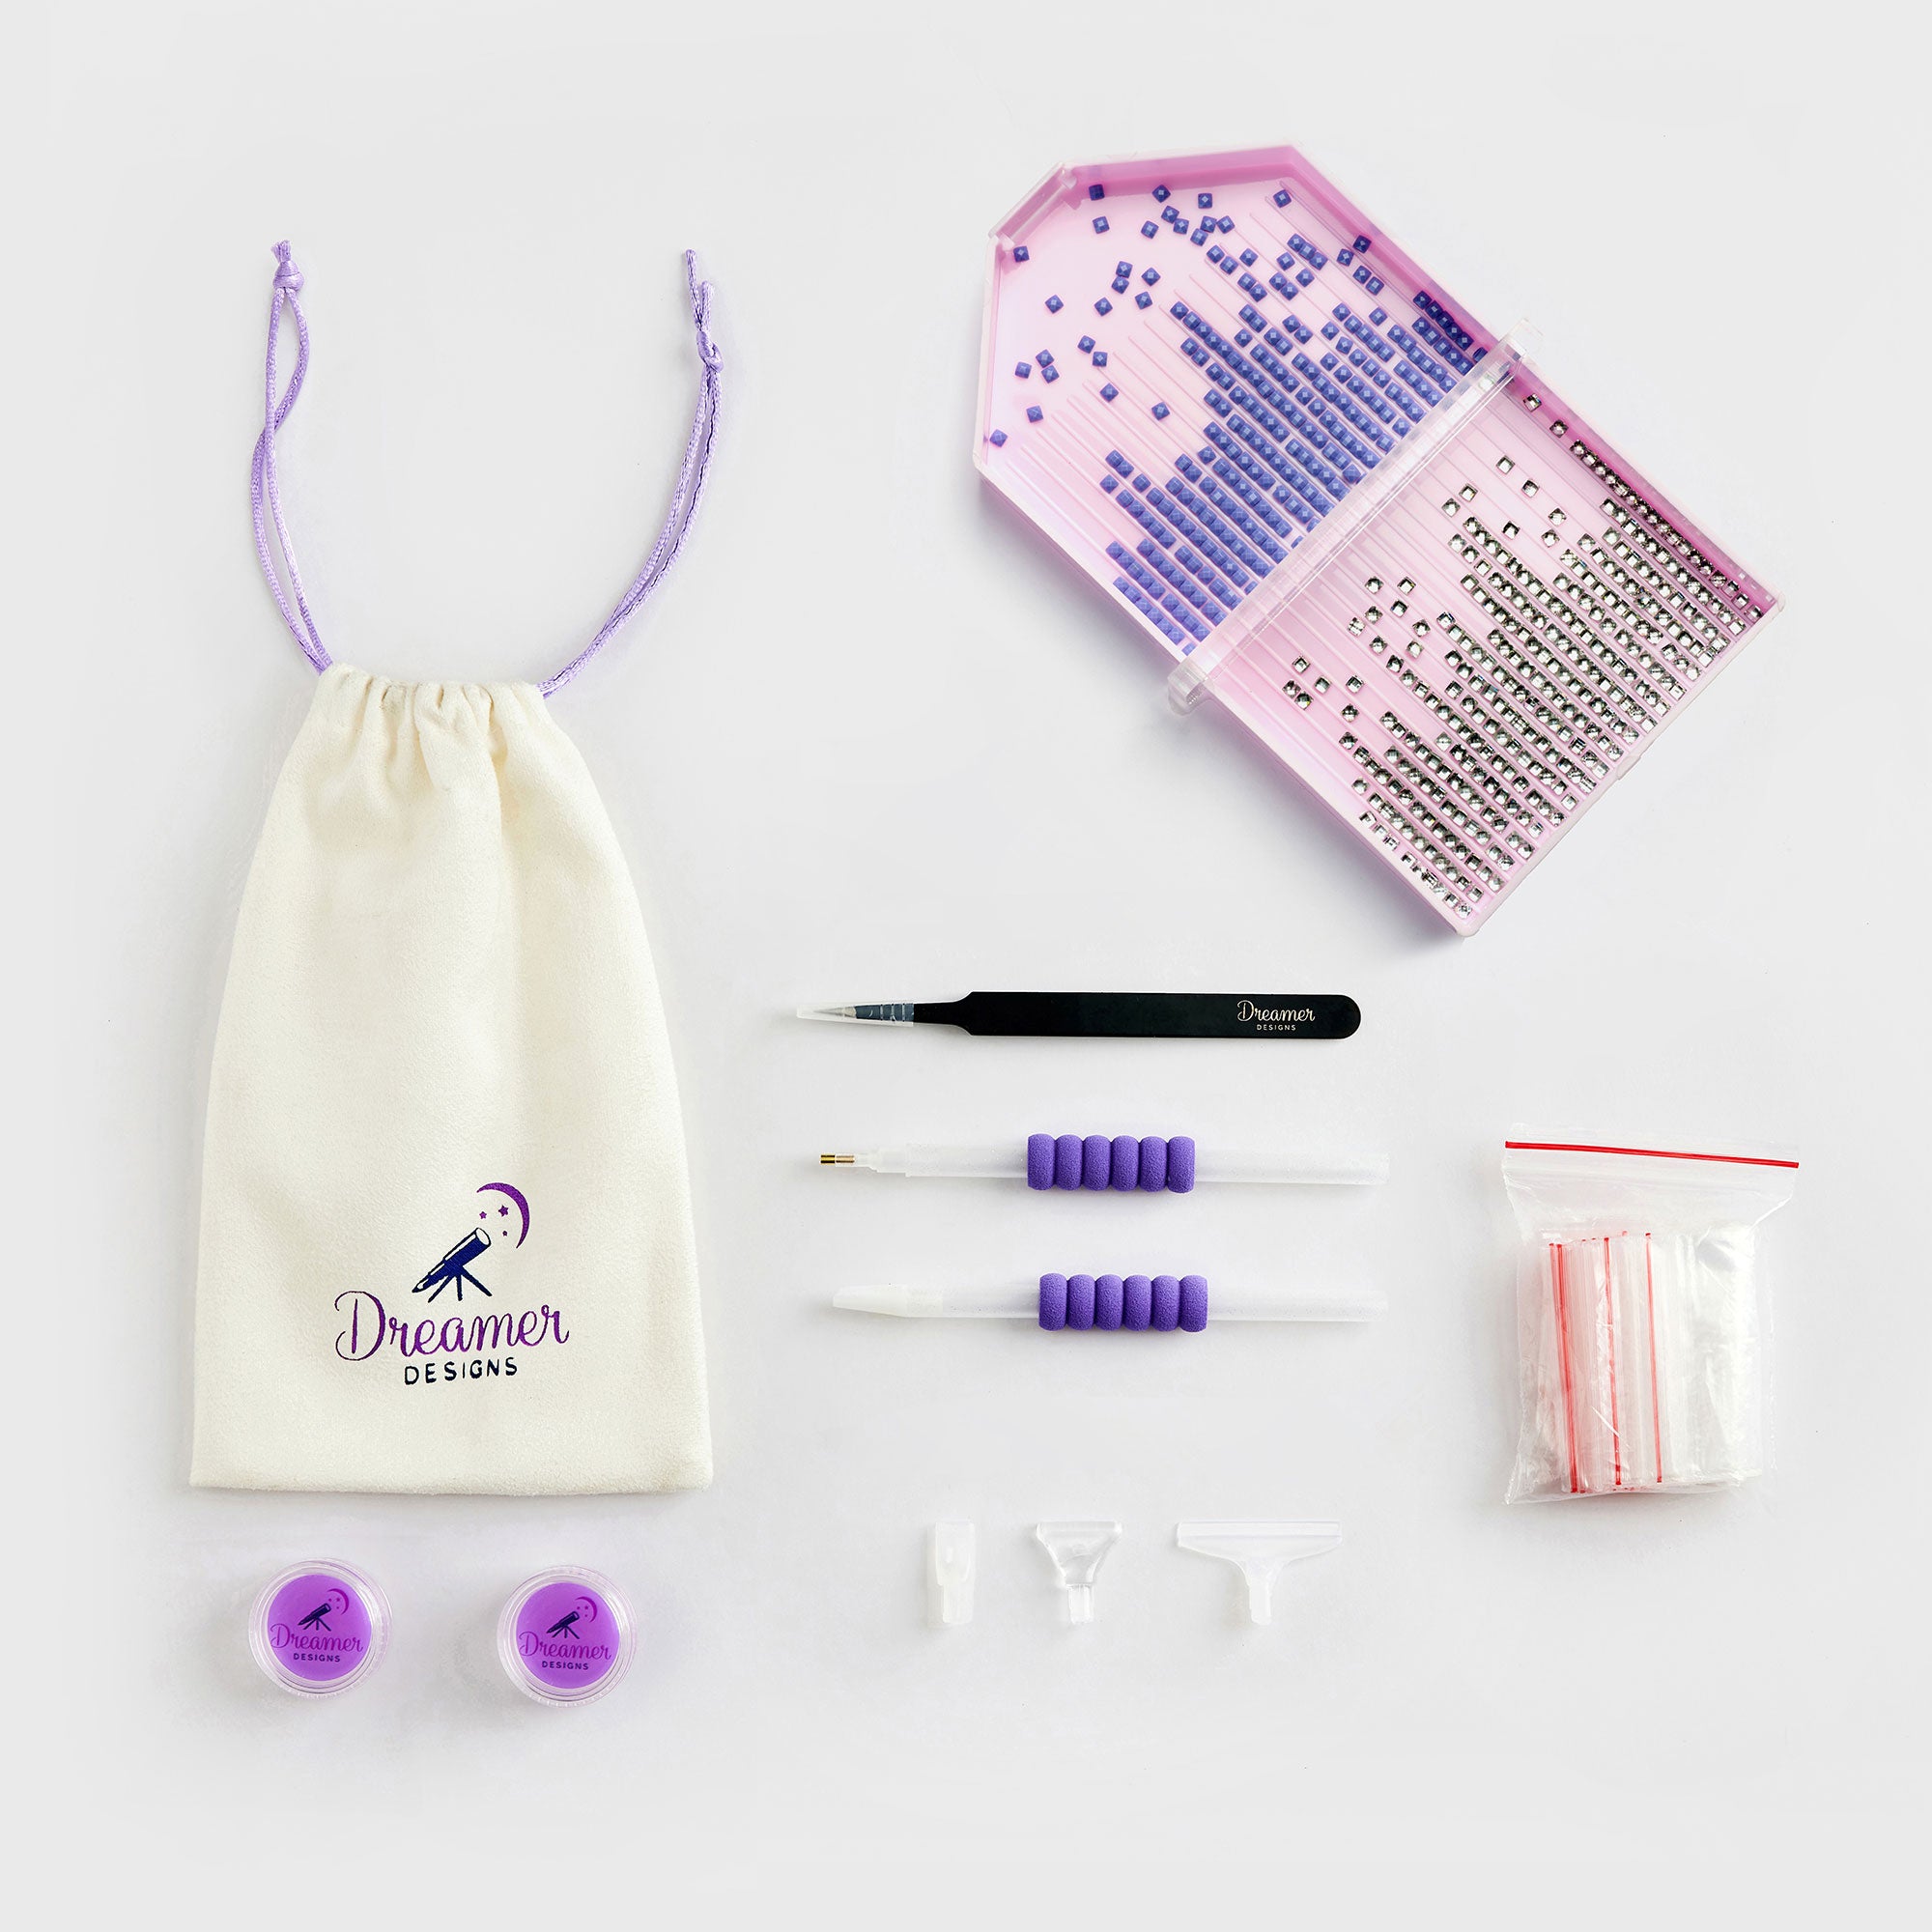
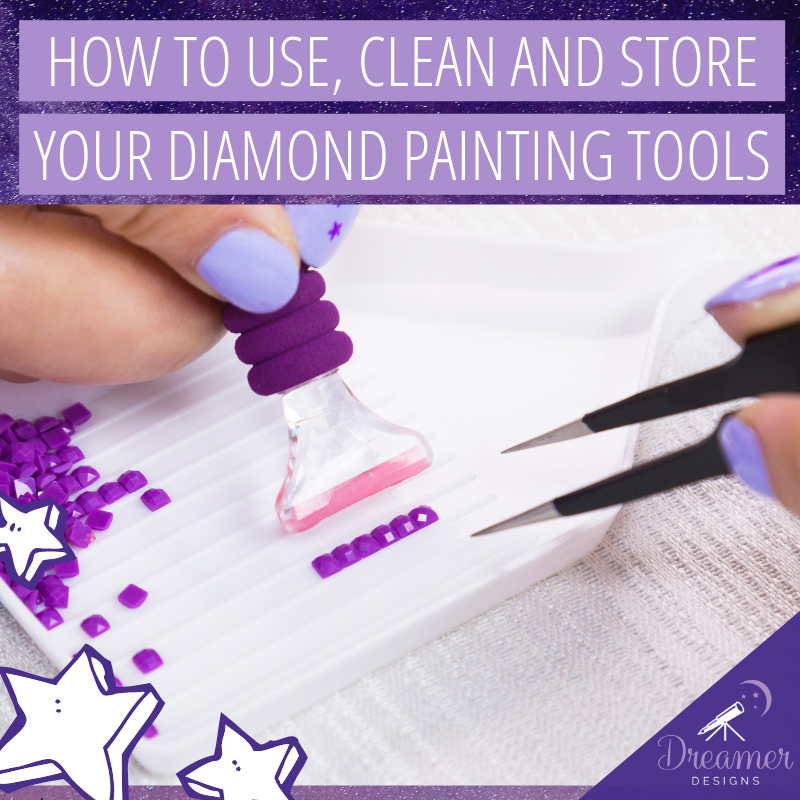
It’s always a great idea to sort out your drills before getting started. We call this process “getting kit up.” You have, included in your tool kit, enough small plastic ziplock bags to hold each colour of diamond. Simply transfer the drills to these baggies and label them accordingly. Do not forget to label them one by one so that you avoid any DMC code mix-ups!
Your diamonds can then be organized in a plastic storage bin. You can decide if you would like to organize them numerically or by colour.
How to start, where to start?
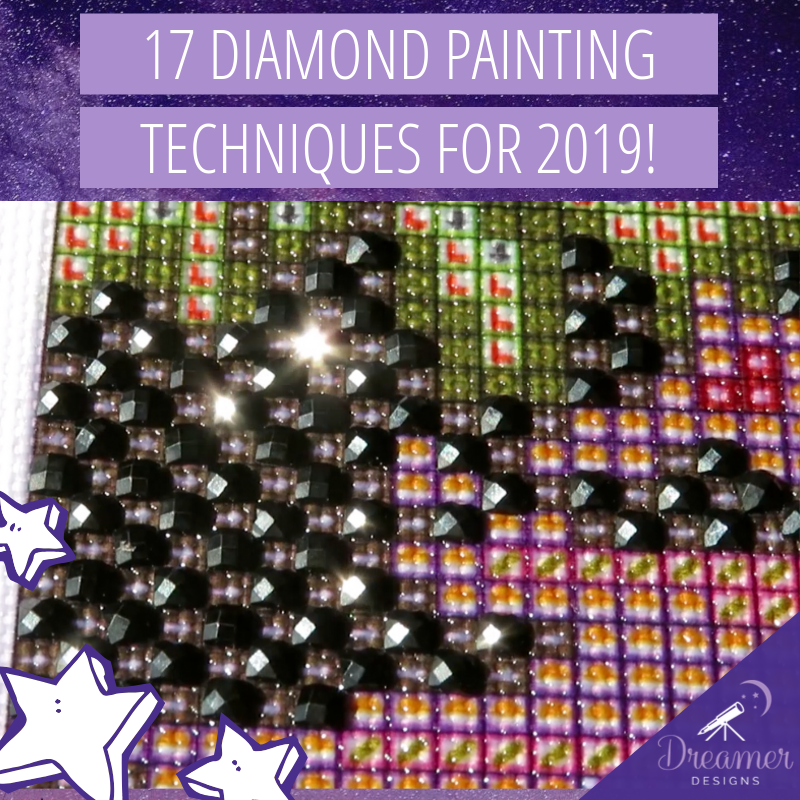
There is no right or wrong way to diamond paint and everybody works differently. You will figure out what is most comfortable depending on if you are left or right handed, if you like to work by section or colour and the size of your space and canvas.
Nataliya works by colour (not by section) so she will pick out the symbol that sticks out to her most or occurs most frequently and will start there. She will fill out every single one of those symbols on the canvas working from each corner. Once finished she’ll move onto the next colour. Be sure to keep the cover on your canvas as much as possible. The downside to this technique is that your clear sheet will not have as much space to stick onto the adhesive the more the diamonds get placed.
If working by sections, you can mark out squares on your cover and complete each cubic square before moving onto the next section. The downside to this technique is that you will be switching colours quite frequently. The upside is that your cover will have plenty of space to cling to the adhesive as you complete each section of your canvas.
How to store your diamond painting
While you are working on your painting you can store it on a large tray. This allows quick set up and removal. This is a great technique if you work from common living spaces in your home. For example if you are working in your kitchen or dining room you can quickly pick up the tray and clear your counter or dining spaces.
If you would like to store your diamond paintings out of sight you can pick up a plastic roll tube commonly used for posters, or use a pants hanger to hang the canvas in your closet.
Watch Nataliya's video here! "Working With A Dreamer Canvas Kit™"
Leave a comment
All comments are moderated before being published.
This site is protected by hCaptcha and the hCaptcha Privacy Policy and Terms of Service apply.