


For a lot of diamond painters used to working with round drills, square diamond paintings can be intimidating. It’s true that working with square drills is a more advanced level of diamond painting, but we know that with practice and patience, anyone can become a square lover just like us!
Position of your tray:
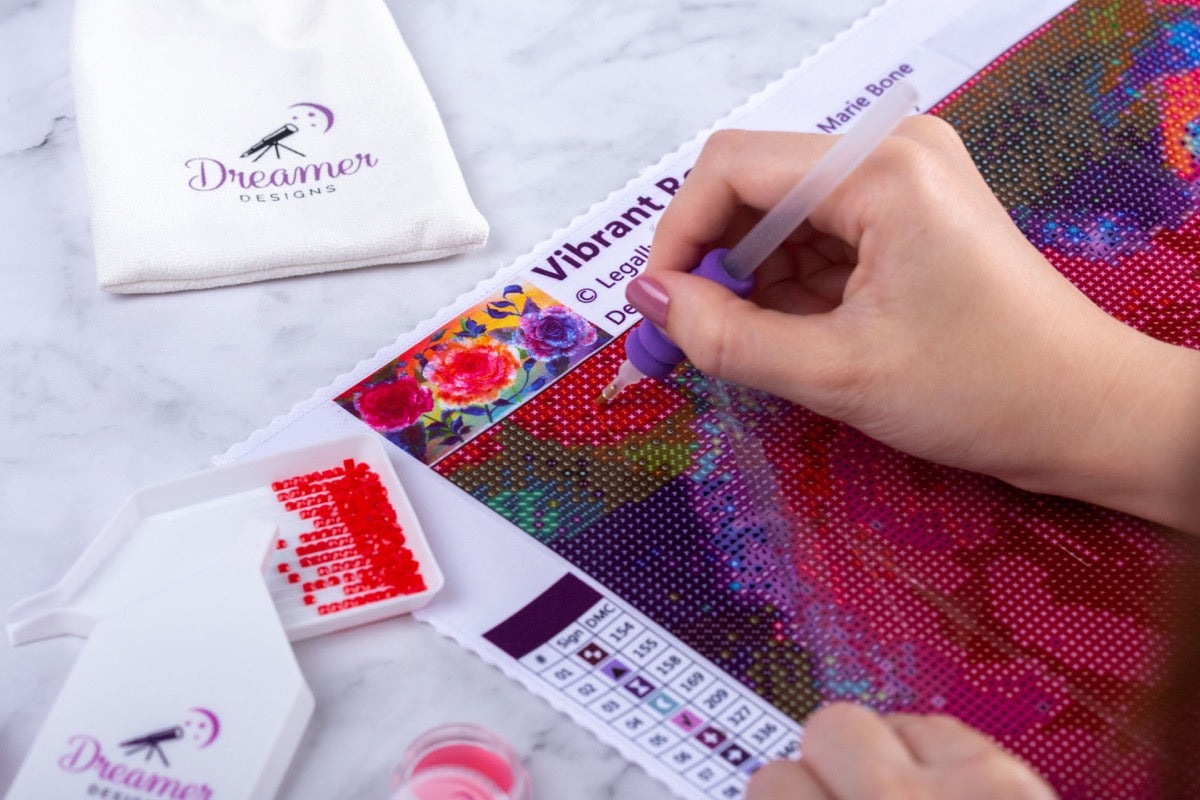
If you have your tray set at an angle then you will have to flick your wrist to place down your diamonds straight. This is because you are picking up your diamonds at a diagonal. Be sure to keep your tray in line with your canvas pattern so that your wrist isn’t twisting and your diamonds are placed down perfectly.
Working with multi-placers:
Be absolutely sure that your diamonds are lined up perfectly in your tray when working with multi-placers. The way you pick up the drills with the pen is how your diamonds will line up on your canvas. To make the perfect pick up possible, shake left to right and then tap on a side to nestle them along a ridge. Then when you are picking up the drills, press your pen right up against a ridge to further straighten them in the wax.
For a more detailed tutorial on how to line up your drills watch the video at 10:06.
How to avoid gapping:
Checker boarding is always a great failsafe technique to ensure your diamonds will line up perfectly. (Checkerboard means to place a diamond down and skip a space). If you are looking for an ultra precise result, opt to use the single placer rather than multi-placer ends.
Use a straightener:
The benefit to square diamonds is their flat edges. This makes using a flat straightener tool super easy and manageable. Take any straight edge and push against your diamond rows to fix any uneven lines for an ultra perfect finish.
Unstick your diamonds:
Square drills can be susceptible to getting stuck to each other. Still, this is quite rare for our high quality diamonds however it’s is an easy fix. Simply wash your drills with warm water and press dry with paper towel to unstick any stubborn drills. This process will also eliminate any static too!
Tell us in the comments below which kind of diamonds you prefer. If you are loyal to round diamond paintings, tell us what reservations you have when it comes to switching over to squares. If you're ready to switch over, or already have, don't miss our comprehensive square diamond painting instructions for users of all levels.
Watch the tutorial “SQUARE Diamond Painting Tips and Tricks” here.

Leave a comment
All comments are moderated before being published.
This site is protected by hCaptcha and the hCaptcha Privacy Policy and Terms of Service apply.