


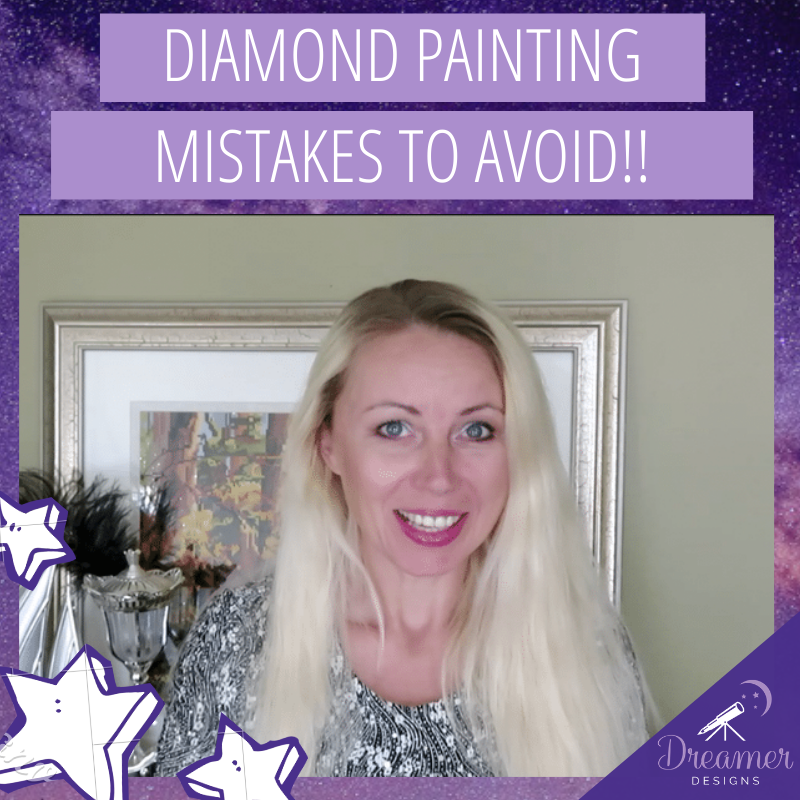
Whether you are a beginner or expert, diamond painting ‘oopsie moments’ are bound to happen on occasion. Nataliya has lots of helpful tips and tricks to avoid these mistakes so that you can have a smooth and enjoyable crafting session free of frustration and stress. After all, the relaxing nature of diamond painting is why we all get so addicted!
Our first tip is to be careful when unpacking your diamond paintings. You won’t have this problem with Dreamer Designs as our boxes are easily opened and the canvases are well preserved, but this is not the case for every company! Diamond paintings that come in plastic bubble bags or other plastic wraps can be susceptible to damage. Our tip is to be careful when using scissors to open these types of packages. You could end up cutting through to your diamond painting!
Another common mistake that occurs when working with diamond paintings that have a paper cover is rips that stick! Let us explain, sometimes when diamond painters are working by section they will rip their paper covers into squares. Unfortunately this can cause a rough edge that can get stuck to the adhesive! This is why it is always best to use scissors to section your covers off. Plus a straight edge looks so much cleaner!
Our next tip will save you lots of trouble when it comes to spills! We all know its no use crying over spilled milk but if its a liquid on your canvas it can seem disastrous! If you happen to spill your water, coffee or soda (etc.) simply lift and flip your canvas upside down to shake the liquid off! This may cause a bigger mess on your table but at least your canvas can be saved! Never try to soak up the liquid with a cloth or tissue! You do not want pieces of paper or fibres from a cloth to get stuck to the glue.
You can always take extra measures to avoid spills in the first place. Keep kids and pets away from your workplace or simply place your drinks on a different surface nearby. This is also a great practice to protect your adhesive from dust dirt and pet hair.
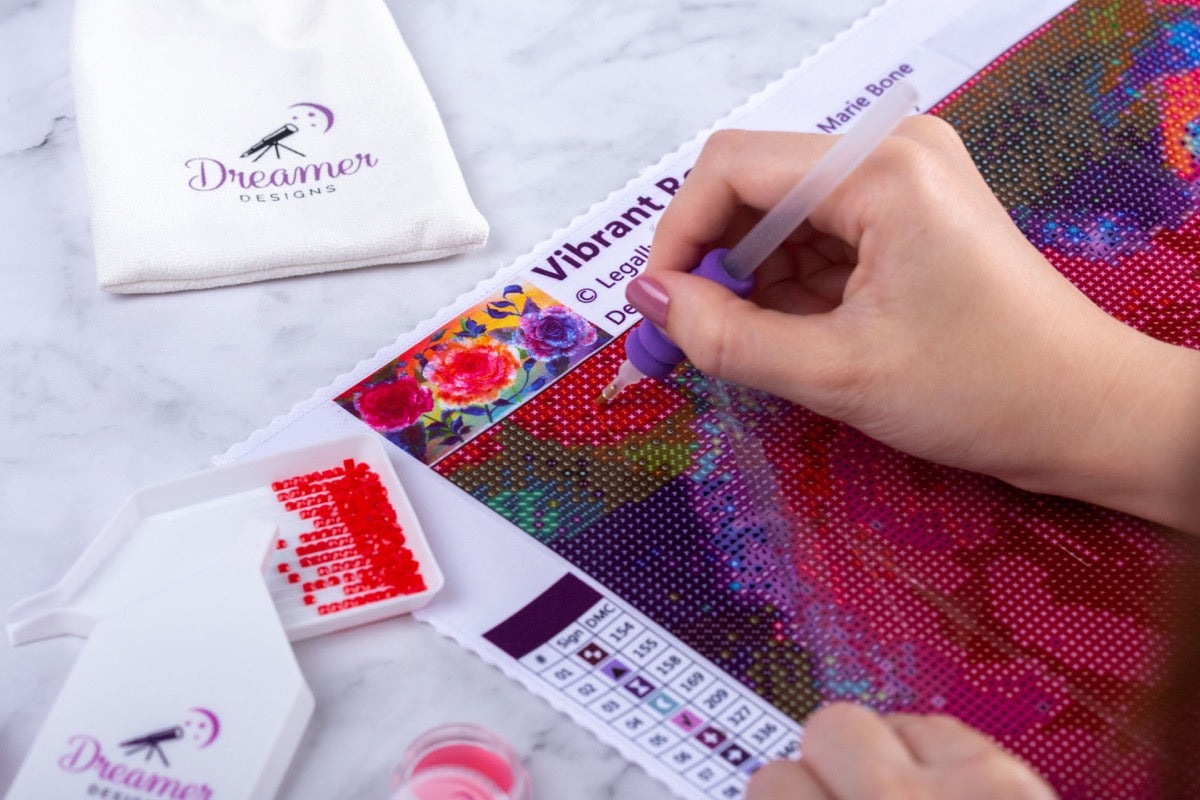
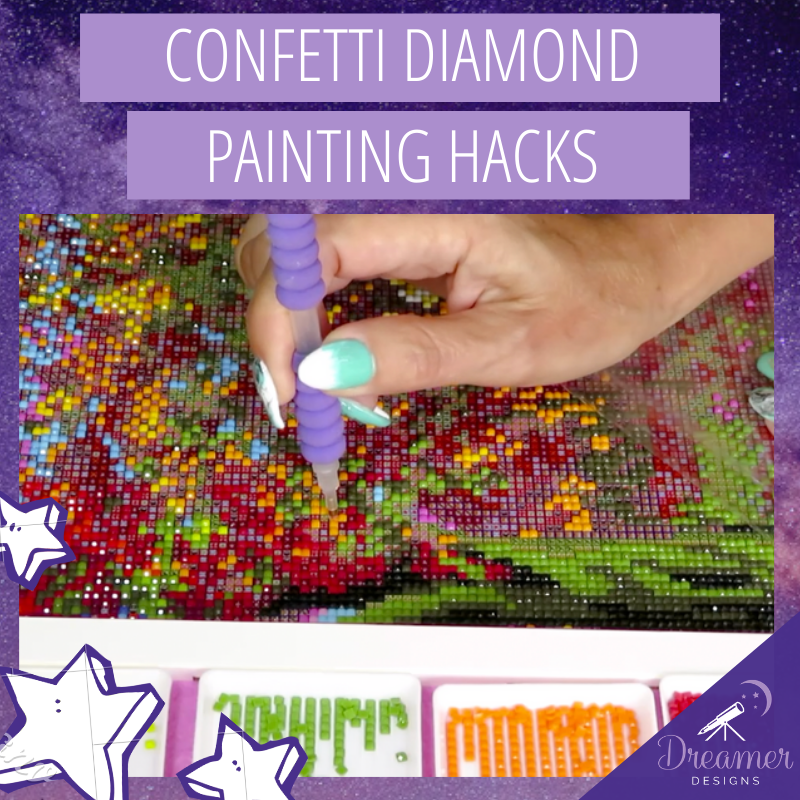
Another thing that can cause more mistakes is impatience when working on your canvas. By rushing the process, your painting is not likely to turn out as perfect as could be. Lining up the drills, especially when working with square diamonds is super important. Multi-placers are more likely to cause crooked gems and gaps between your rows of diamonds. Opt for the single head stylus pen and take your time placing your diamonds if you want a flawless finish.
When working with multiple colours at once you will want to be careful about confusing your diamonds. Be sure to be meticulous with labelling your diamond baggies and your trays so as not to cause any confusion. Trust us, it will take hours to sort those diamonds if you get them mixed up!
Many diamond painters like to opt for a paper cover rather than our clear plastic cover present on our canvases. If you prefer the sturdiness and opacity of a paper cover be sure to only use high quality parchment paper!!! Wax paper or subpar quality parchment paper can get stuck irreversibly to the adhesive!
We hope these tips were helpful for you and that they prevent any future diamond painting mistakes! Leave a comment down below your biggest oopsie moment or mistake you’ve had during a DP session. And if you're a beginner, make sure to check our step-by-step diamond painting instructions.
Watch the tutorial video here: “12 Diamond Painting Mistakes To Avoid!! | Diamond Painting 101”
3 comments
Christchurch Painters
This is a very informative blog, thanks for sharing about diamond painting mistakes to avoid. It will help a lot; these types of content should get appreciated. I will bookmark your site; I hope to read more such informative contents in future.
Vicki Lee
Sometimes my diamonds seem to slide off spot I need for it to stay put!
Emma
Hi!
I had a big oopsie big mistake happening after I just finished my first dp. I do my dp at the dinnertable. And my cat sleeps every night downstairs. So after a day or two I went to pick my dp up to store it somewhere else, at that moment I felt something wet on my dp. When I smelt it I knew right away what it was… My cat peed all over it.. And I was sooo angry. I wanted to throw it away, but my friend washed it as good as he could off. Now it still smells verry bad, I am still trying to get rid of the smell, but maybe he still has to go.
I now put a binbag over my project every time I stop dp, so my cat can’t do it ever again…
Leave a comment
All comments are moderated before being published.
This site is protected by hCaptcha and the hCaptcha Privacy Policy and Terms of Service apply.