


There’s a reason why diamond painting is exploding in popularity! It’s a fun and easy way to create unusual works of art that you can display anywhere in your home. Paintings come in a variety of sizes, which means you can create smaller pieces or huge murals as you so desire. And because this is a relatively simple craft, it’s something that you can do on your own or as a family project that includes the kids, too.
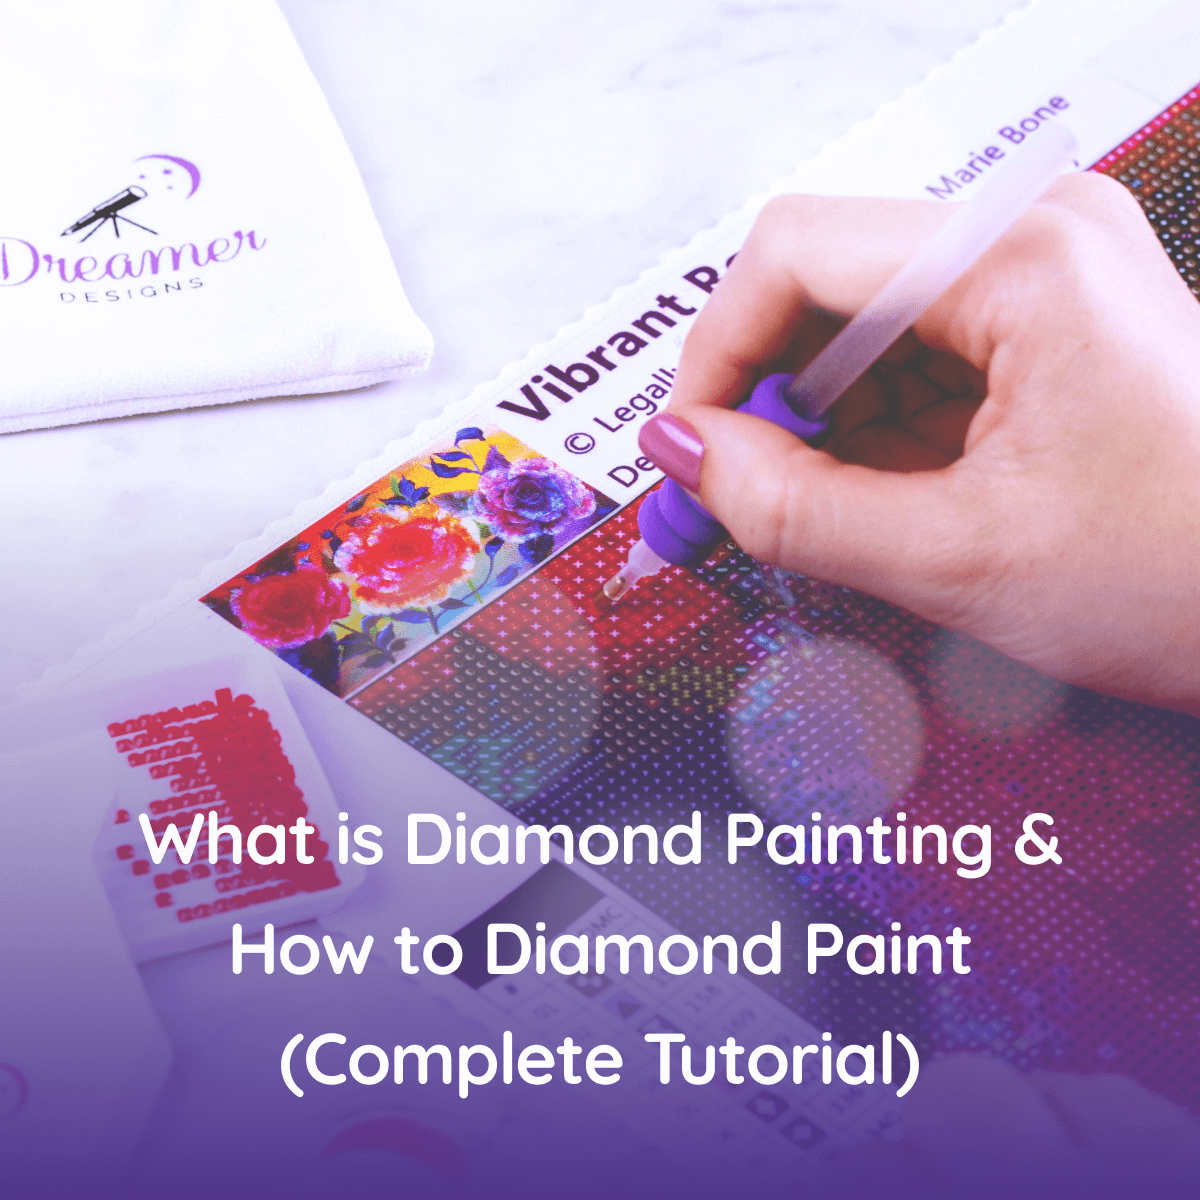
If you’d like to learn more, here’s a complete tutorial explaining what diamond painting is and how it’s done!
What is Diamond Painting?
We call it diamond painting, but it goes by a couple of different names online. Some call it “5D diamond art” or “diamond embroidery.” It’s a type of craft project, similar to painting by numbers, that is trending right now because it combines all the best elements of cross-stitching and painting by numbers.
Similar to digital pixel art or glass mosaics, this is a craft that utilizes small resin gems—the diamonds—to create a picture. It all starts with a canvas that features a pre-printed image. To create the painting, you use an applicator pen to stick diamonds to the adhesive canvas according to the provided pattern.
Common Terms You’ll Need to Know
The following is a list of terms that you’ll encounter as you dive into diamond painting:
- AB Diamonds: These are diamonds with an iridescent sheen that gives them a color-shifting aurora borealis effect.
- DMC or DMC Code: This term refers to the codes that you’ll find on each package of diamond drills. These are the color codes you’ll use to match drill shades to their proper places on the canvas.
- Drills: “Drill” is another word for the resin diamonds that you’ll be using to create a diamond painting.
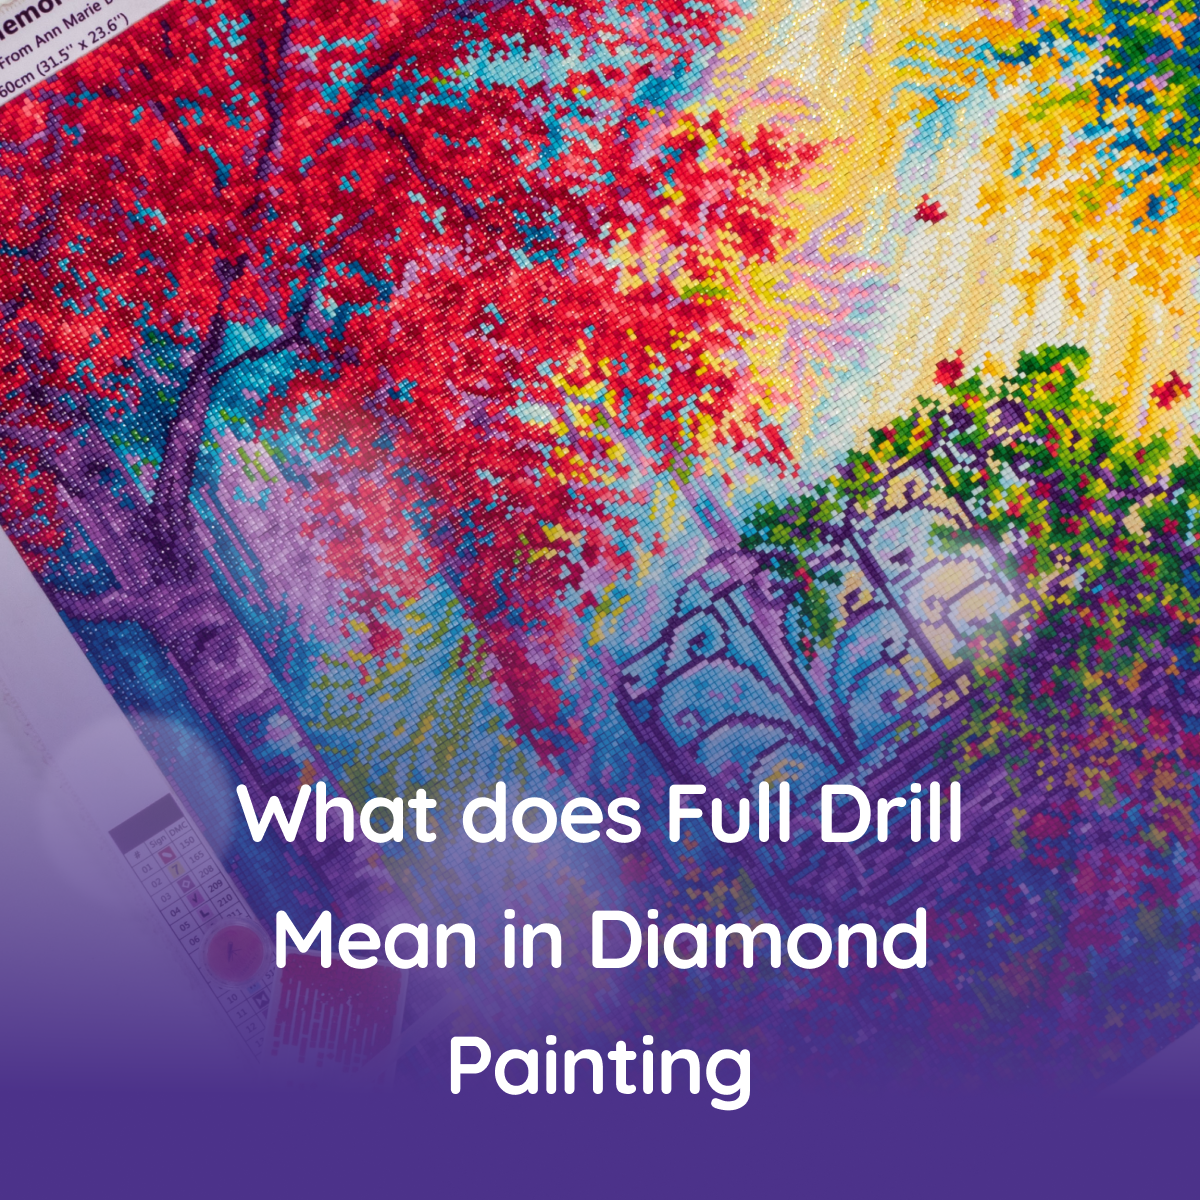
- Full Drill: A “full drill” painting is one in which the entire painting is covered with diamond drills, no blank spaces anywhere on the canvas.
- Multi-placer: This is a tool that you can use in addition to your drill stylus to pick up multiple drills in a row for faster placement.
-
Round and Square Drills: These are the two most common drill shapes available, with round drills featuring flat cut bottoms and rounded shapes while square drills have a squared shape.
What Do You Get with a Diamond Painting Kit?
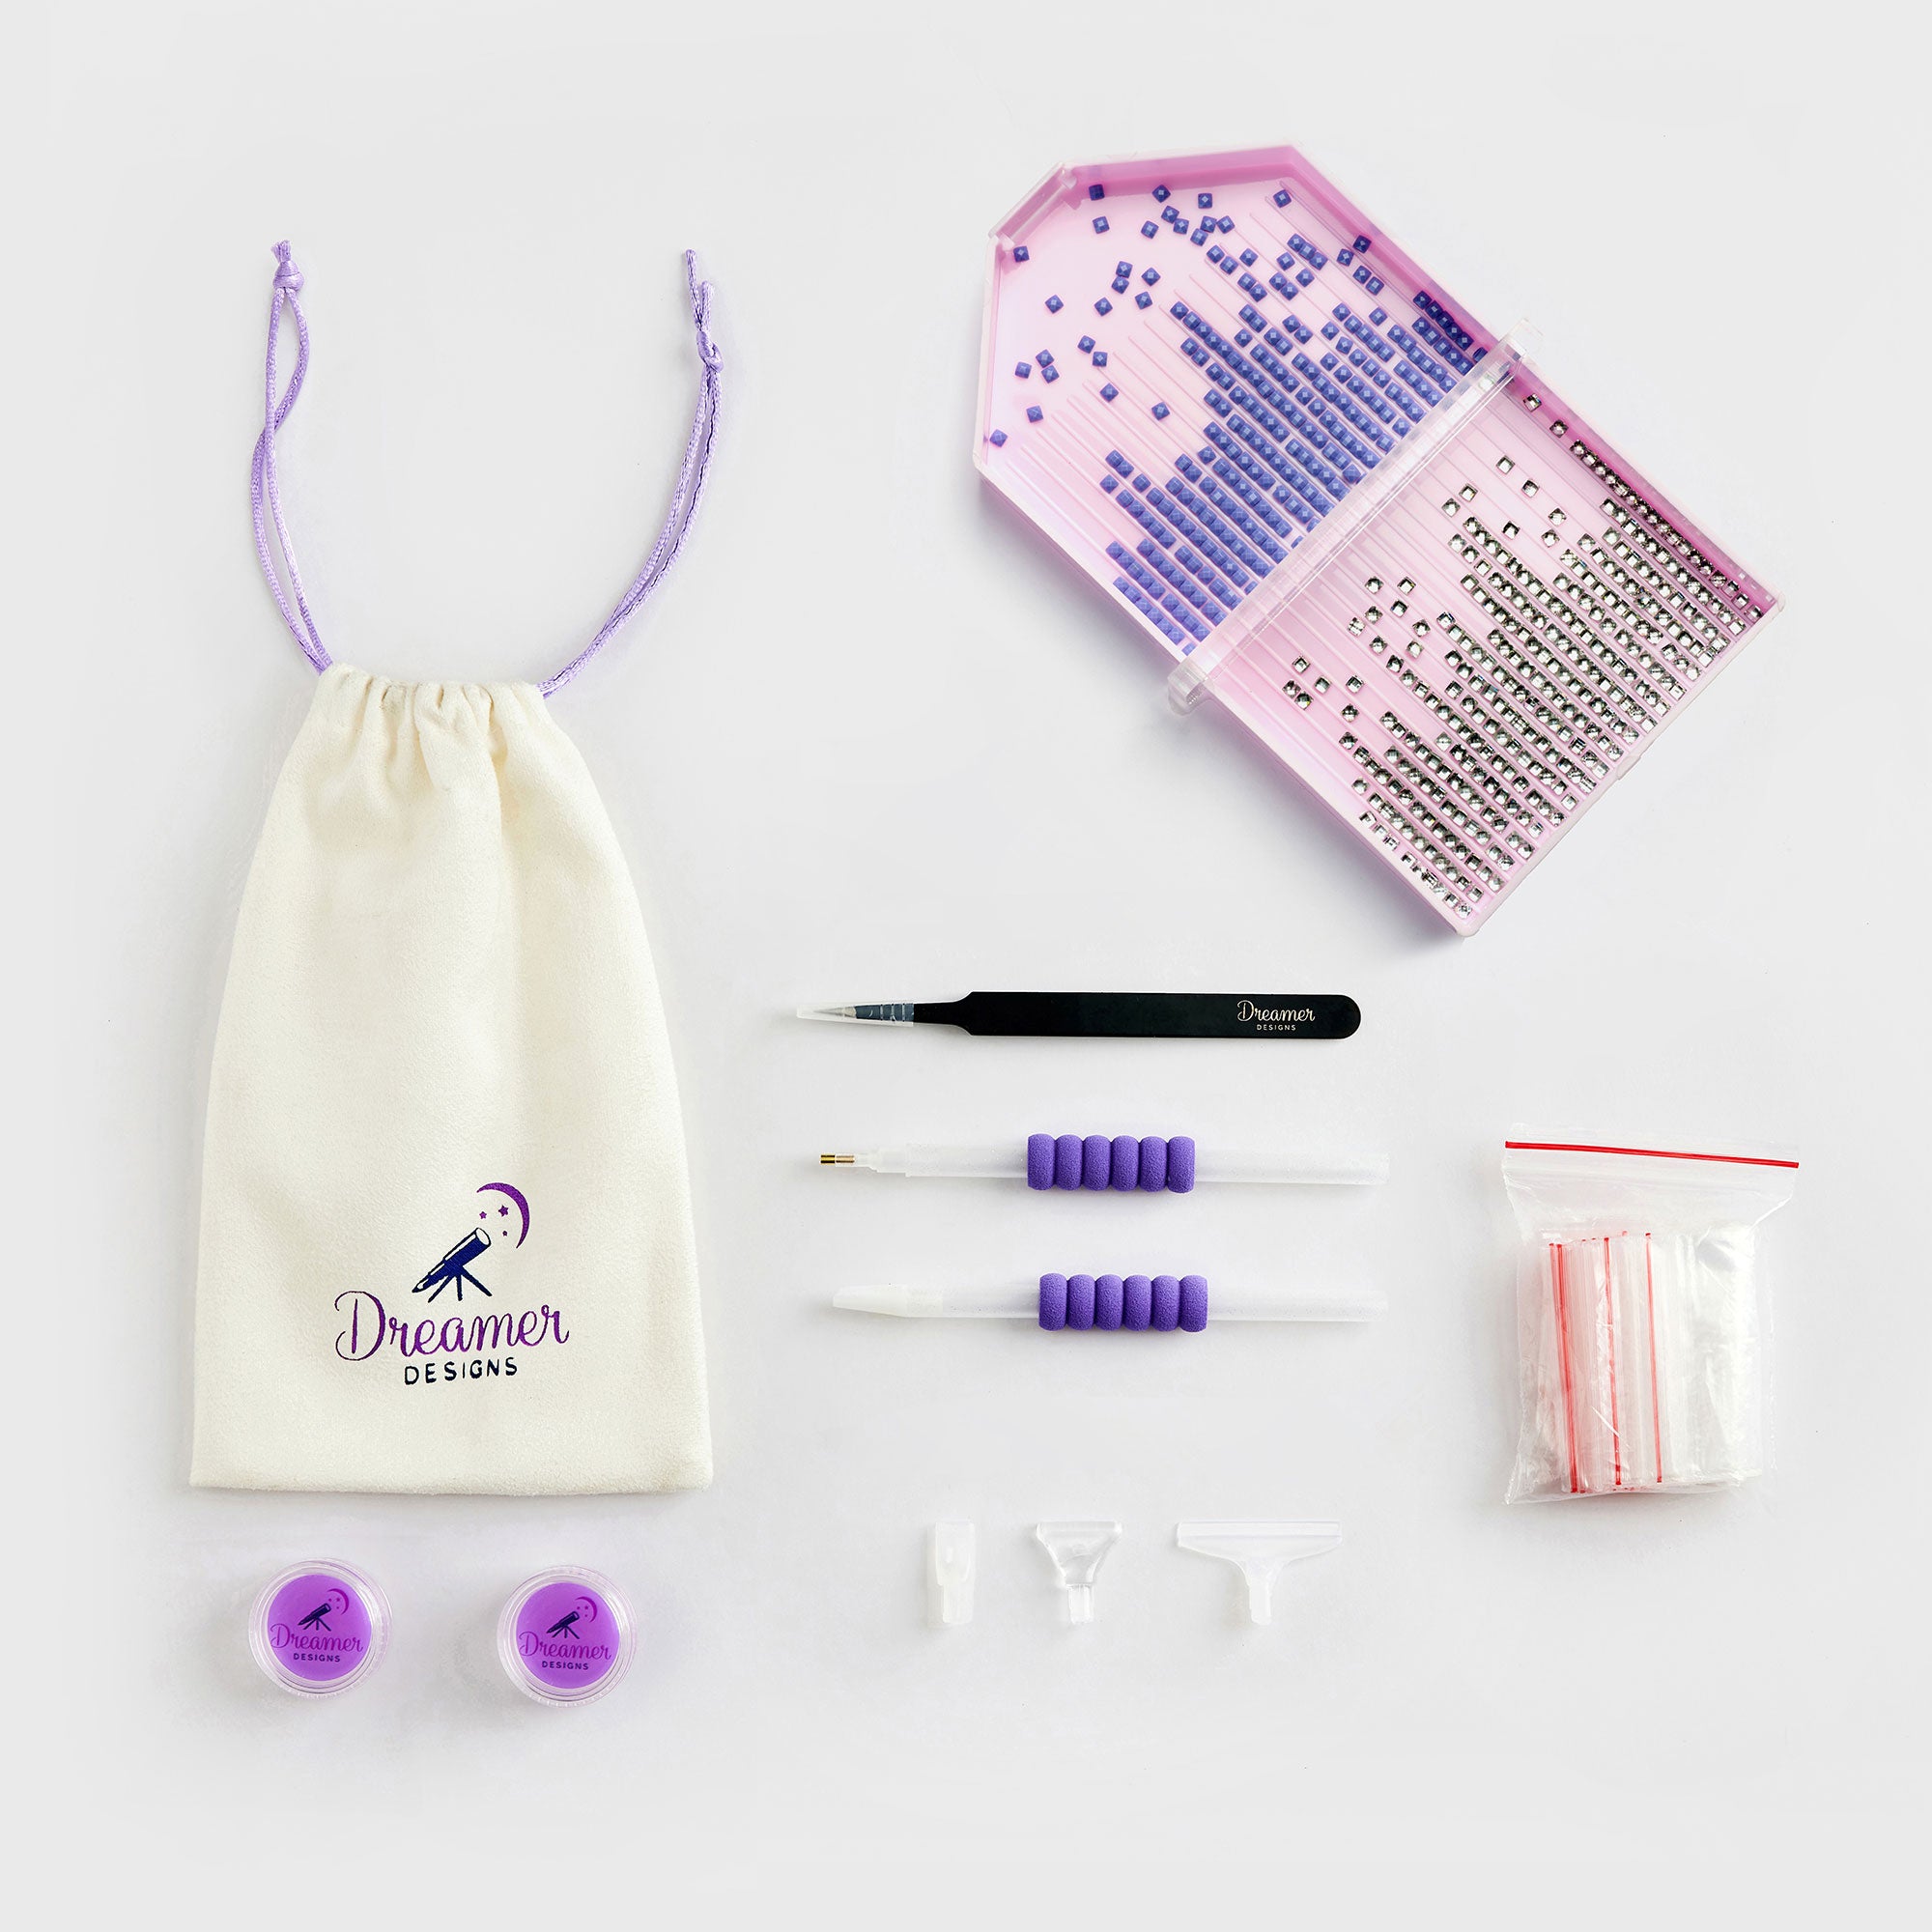
Each of our kits comes with everything you need to complete a diamond painting project, tools included. When you unbox a kit, you’ll find:
- The canvas, which provides both an adhesive surface on which to fasten the diamonds and a pre-printed pattern to follow.
- Resin diamonds, all presorted in the quantities and colors you’ll need to complete the project.
- Two stylus pens, plus two wax caddies, which are used to pick up diamonds and fasten them to the canvas.
- Other tools, including 3 and 6-drill placers, a straightener tool, tweezers, extra sealable bags, DMC stickers for storage, and everything else that you’ll need to make the project easier.
If you’ve purchased a kit, there is no need to buy anything else in order to complete the project. Each canvas kit comes with 2 painting trays, making sorting and handling the diamond drills a lot easier. These durable & convenient trays feature ridged bottoms, to help you keep the drills sorted neatly into rows, for easy pickup with your stylus pen.
Steps to Complete Your Diamond Painting
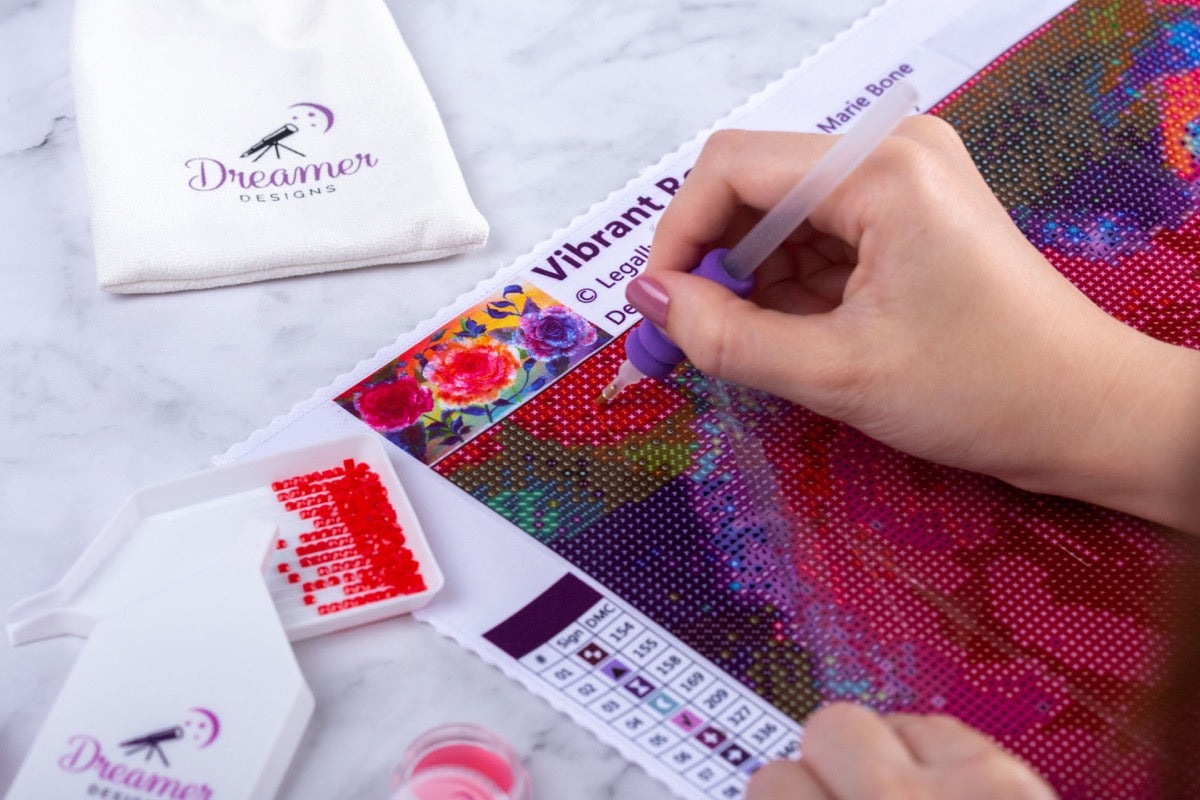
To get started with your first diamond painting, unbox the kit to have a look at the tools and supplies inside. When you unroll the canvas, spread it out smooth on a flat surface, but for now, leave the protective film in place until you’re ready to start applying drills.
Have a look at the canvas itself. You’ll notice that it is printed in a grid pattern with symbols in each square. These symbols correlate to charts within the canvas’s margins, where you can find the DMC code for the diamond drills. This is how you know which colors to use throughout the painting. Use the color chart, grid and DMC codes printed on the drill packages to find where each shade must be placed on the canvas.
When you’re ready to get started, take a close look at the bottom of the canvas. Most diamond painters prefer to start with the bottom of the canvas, working their way up as they go, so find the drills in the appropriate shades to match the pattern and lay them out in a drill tray or on a flat surface.
To begin, dip the tip of your drill stylus into the wax that came with your kit. You don’t need a big glob of wax on the end of your stylus! Just a little bit to make it sticky so that the stylus easily picks each drill up. More wax can be applied to the stylus later as needed to make it sticky again.
Pick up drills with your stylus, peel back just enough of the protective film on the canvas to reveal the adhesive in the spot where you’ll begin working and start pressing drills into the appropriate spots as indicated by the canvas’s grid.
Once all the diamonds are in place, you’ll want to make sure they’re flat and secure on the canvas. Hang onto the protective film that came with your canvas because when finished, you can place it over the painting to protect the drills while you secure them.
To do this, use a rolling pin to go over the entire painting, carefully pressing diamonds into place. You’ll hear a clicking sound as you press—and that’s a good sign! It means the drills are popping securely into the adhesive so that it holds them firm.
In addition to the steps we just covered, we recommend checking our visual diamond painting instructions, which will help you make the best of our kits.
Tips and Tricks
There are a few things you’ll want to know to help make the diamond painting process proceed smoothly!
- It’s tempting to take the protective film off the canvas completely when you get started, but actually, it’s better to leave the film in place and only peel back as much as you need to work on one section of the painting at a time. That’s because if you have to take a break, the film protects the adhesive from drying out or from picking up debris, dust and pet hair.
- If you have an empty egg carton or small reusable containers, use them to store your drills! Leave the drills in their resealable bags and, if you’re using an egg carton, place the bags in the empty egg cups to keep them organized by color or DMC code.
- If your canvas doesn’t lay flat when you first unbox it, you can do a couple of things. Place heavy books on it to flatten it or place it underneath your mattress overnight so that you and the mattress both press it perfectly flat as you sleep.
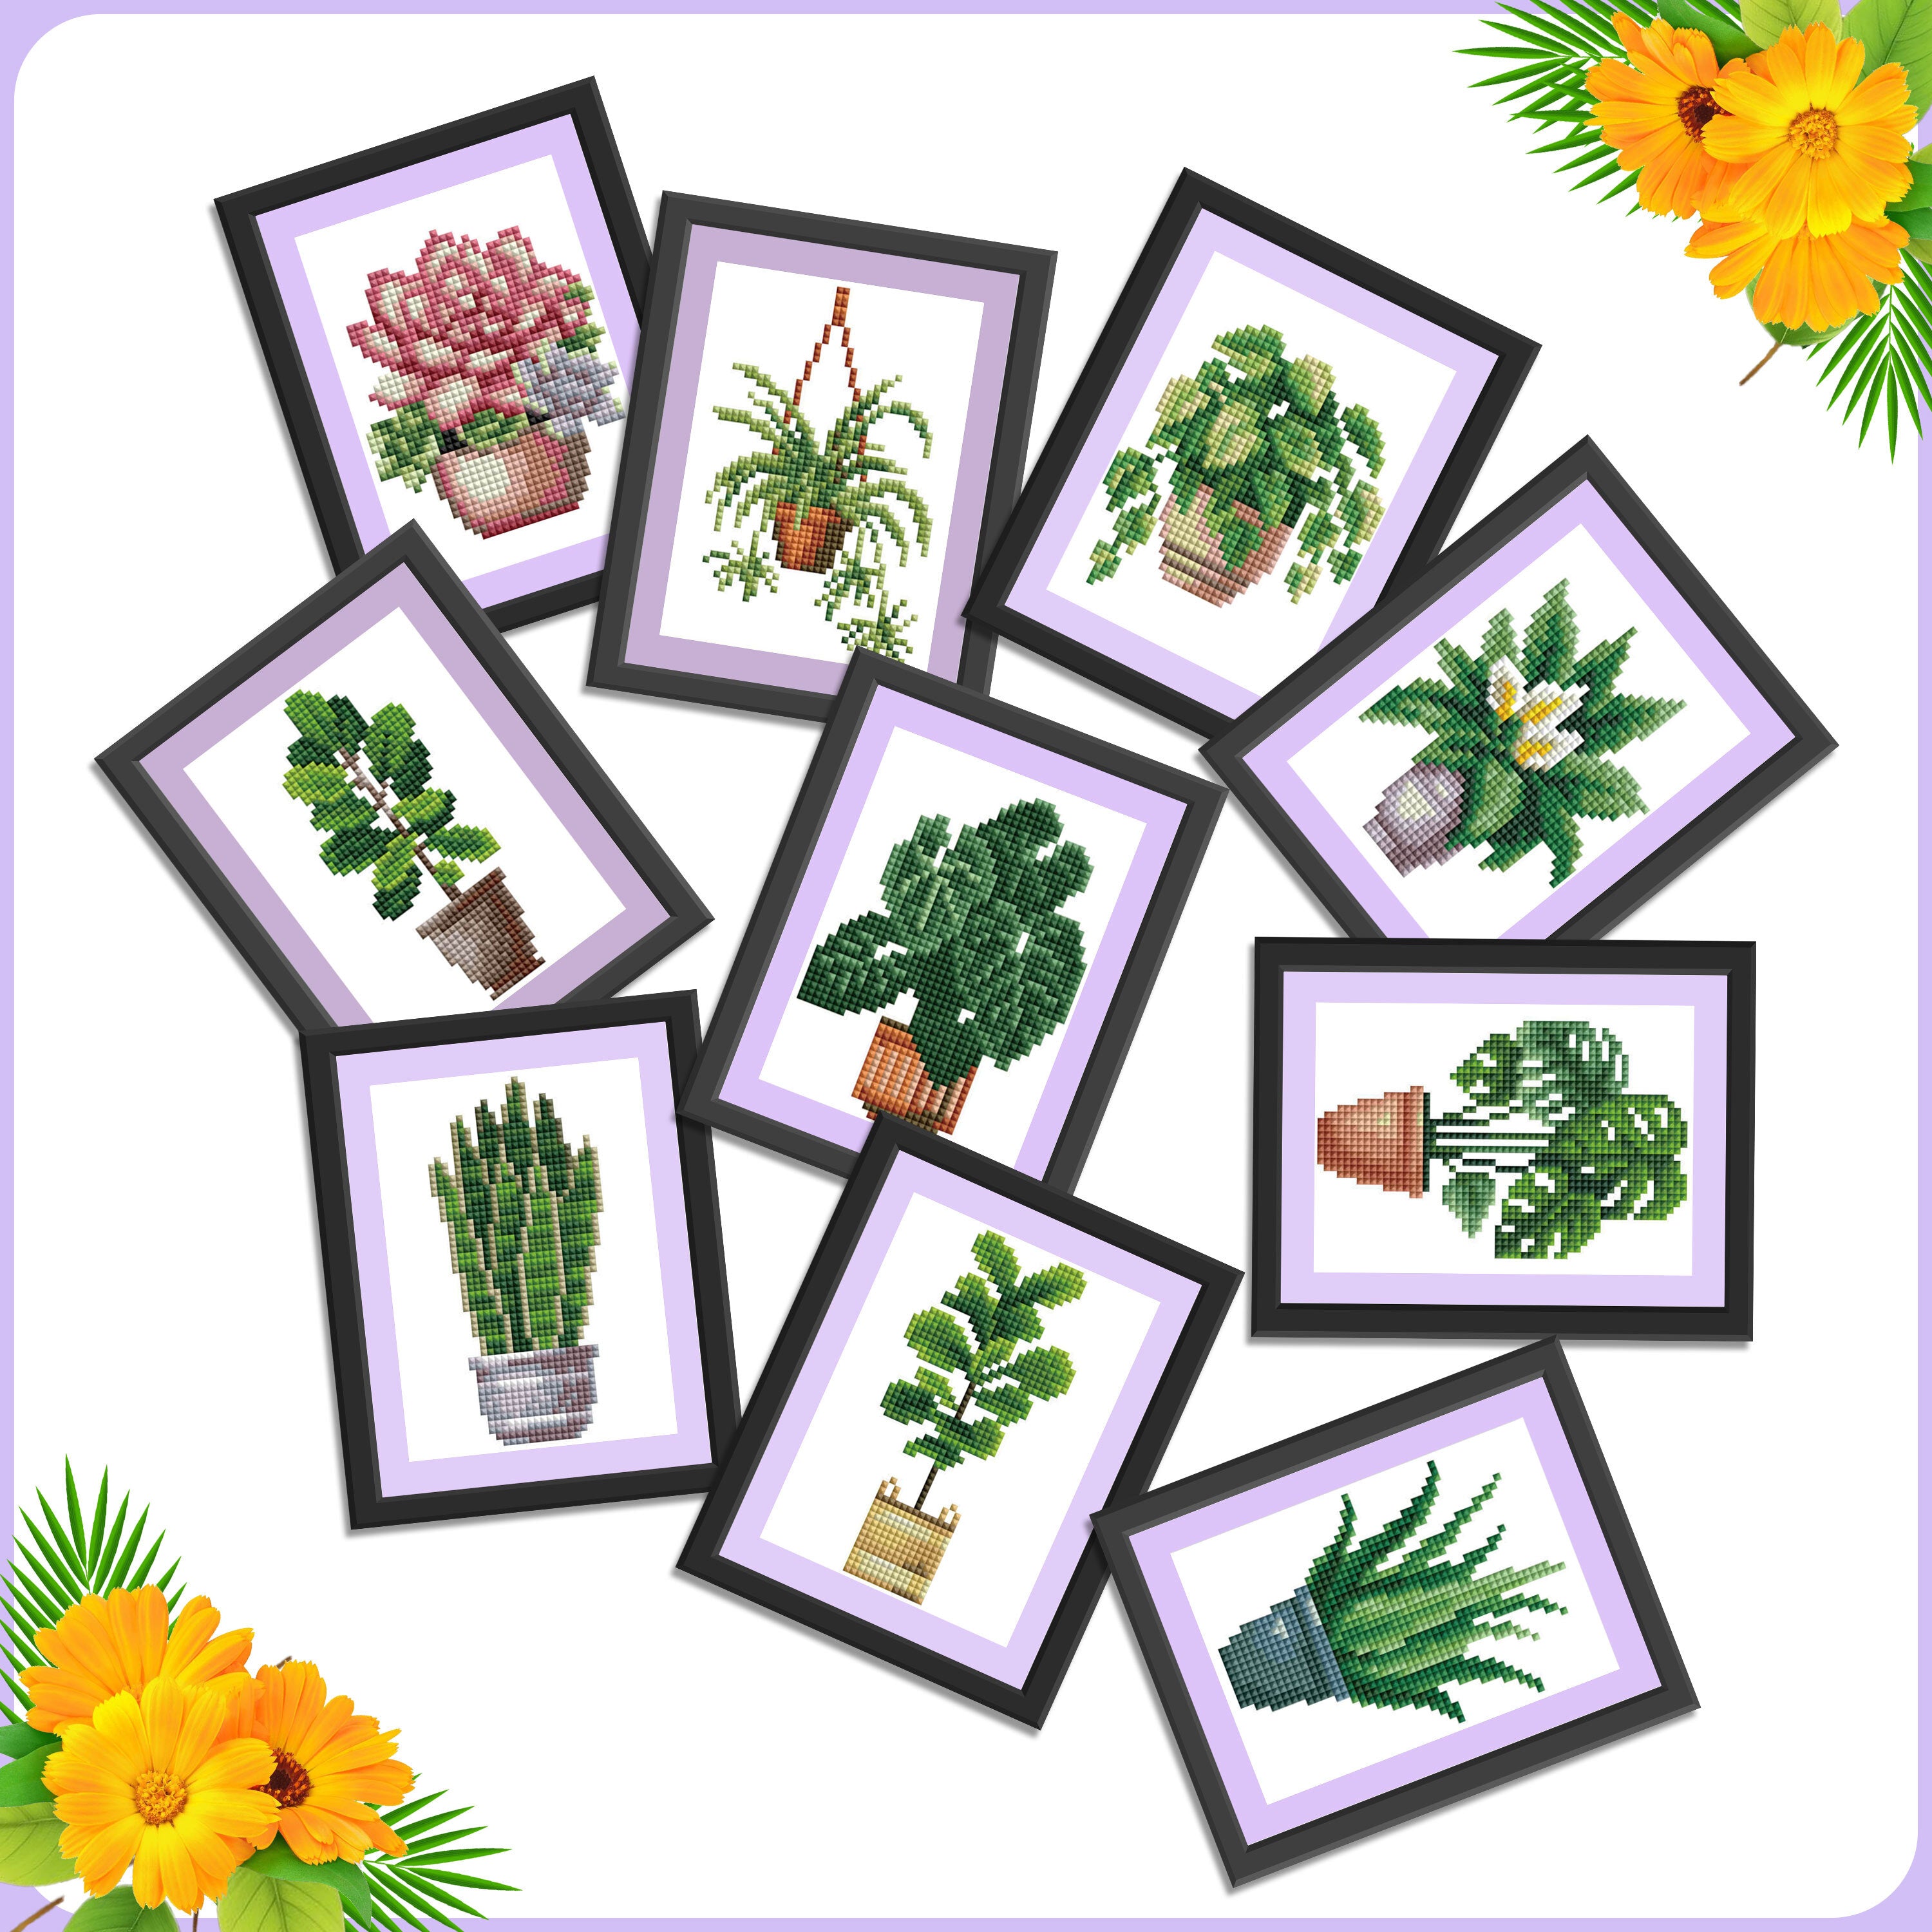
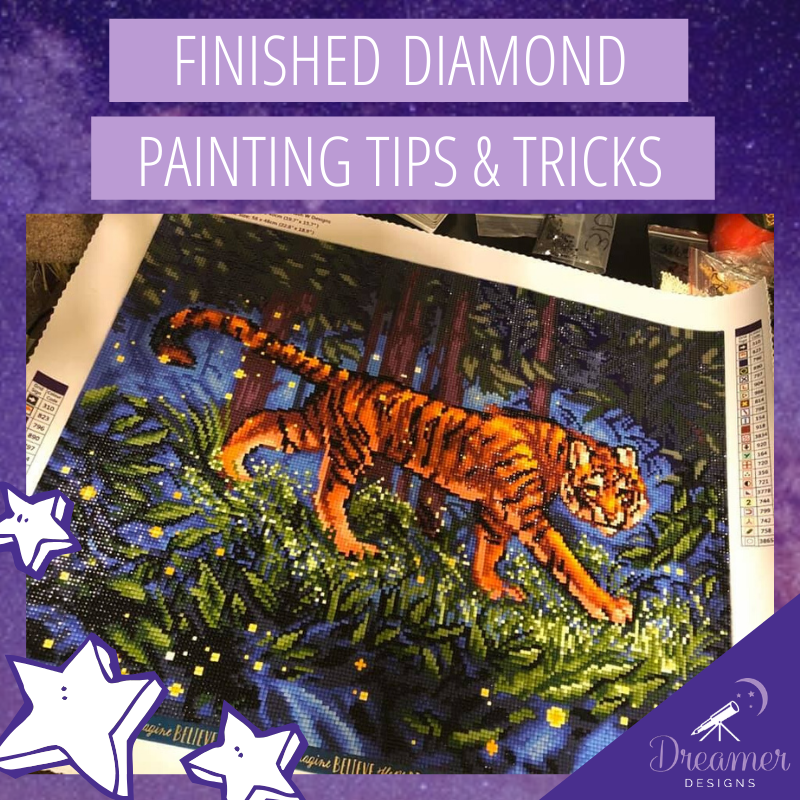
Displaying & Framing Your Diamond Painting
Framing is the most popular way to display diamond paintings. Choose a frame in an appropriate size and follow the frame’s instructions to install a picture. Most diamond painters prefer to remove the frame’s glass because the glass can dull the painting’s sparkle.
If you enjoy sewing, however, there are other ways to display diamond paintings. Wall hangings with fabric backings and borders are quite popular, and smaller diamond paintings can easily be turned into decorative throw pillows.
Diamond painting is a fun and soothing way to pass the time while creating a beautiful work of art. Now that you know how it’s done, try a smaller painting to familiarize yourself with the process. We bet once you’ve finished that first diamond painting, you’ll be eager to create another!
Leave a comment
All comments are moderated before being published.
This site is protected by hCaptcha and the hCaptcha Privacy Policy and Terms of Service apply.