


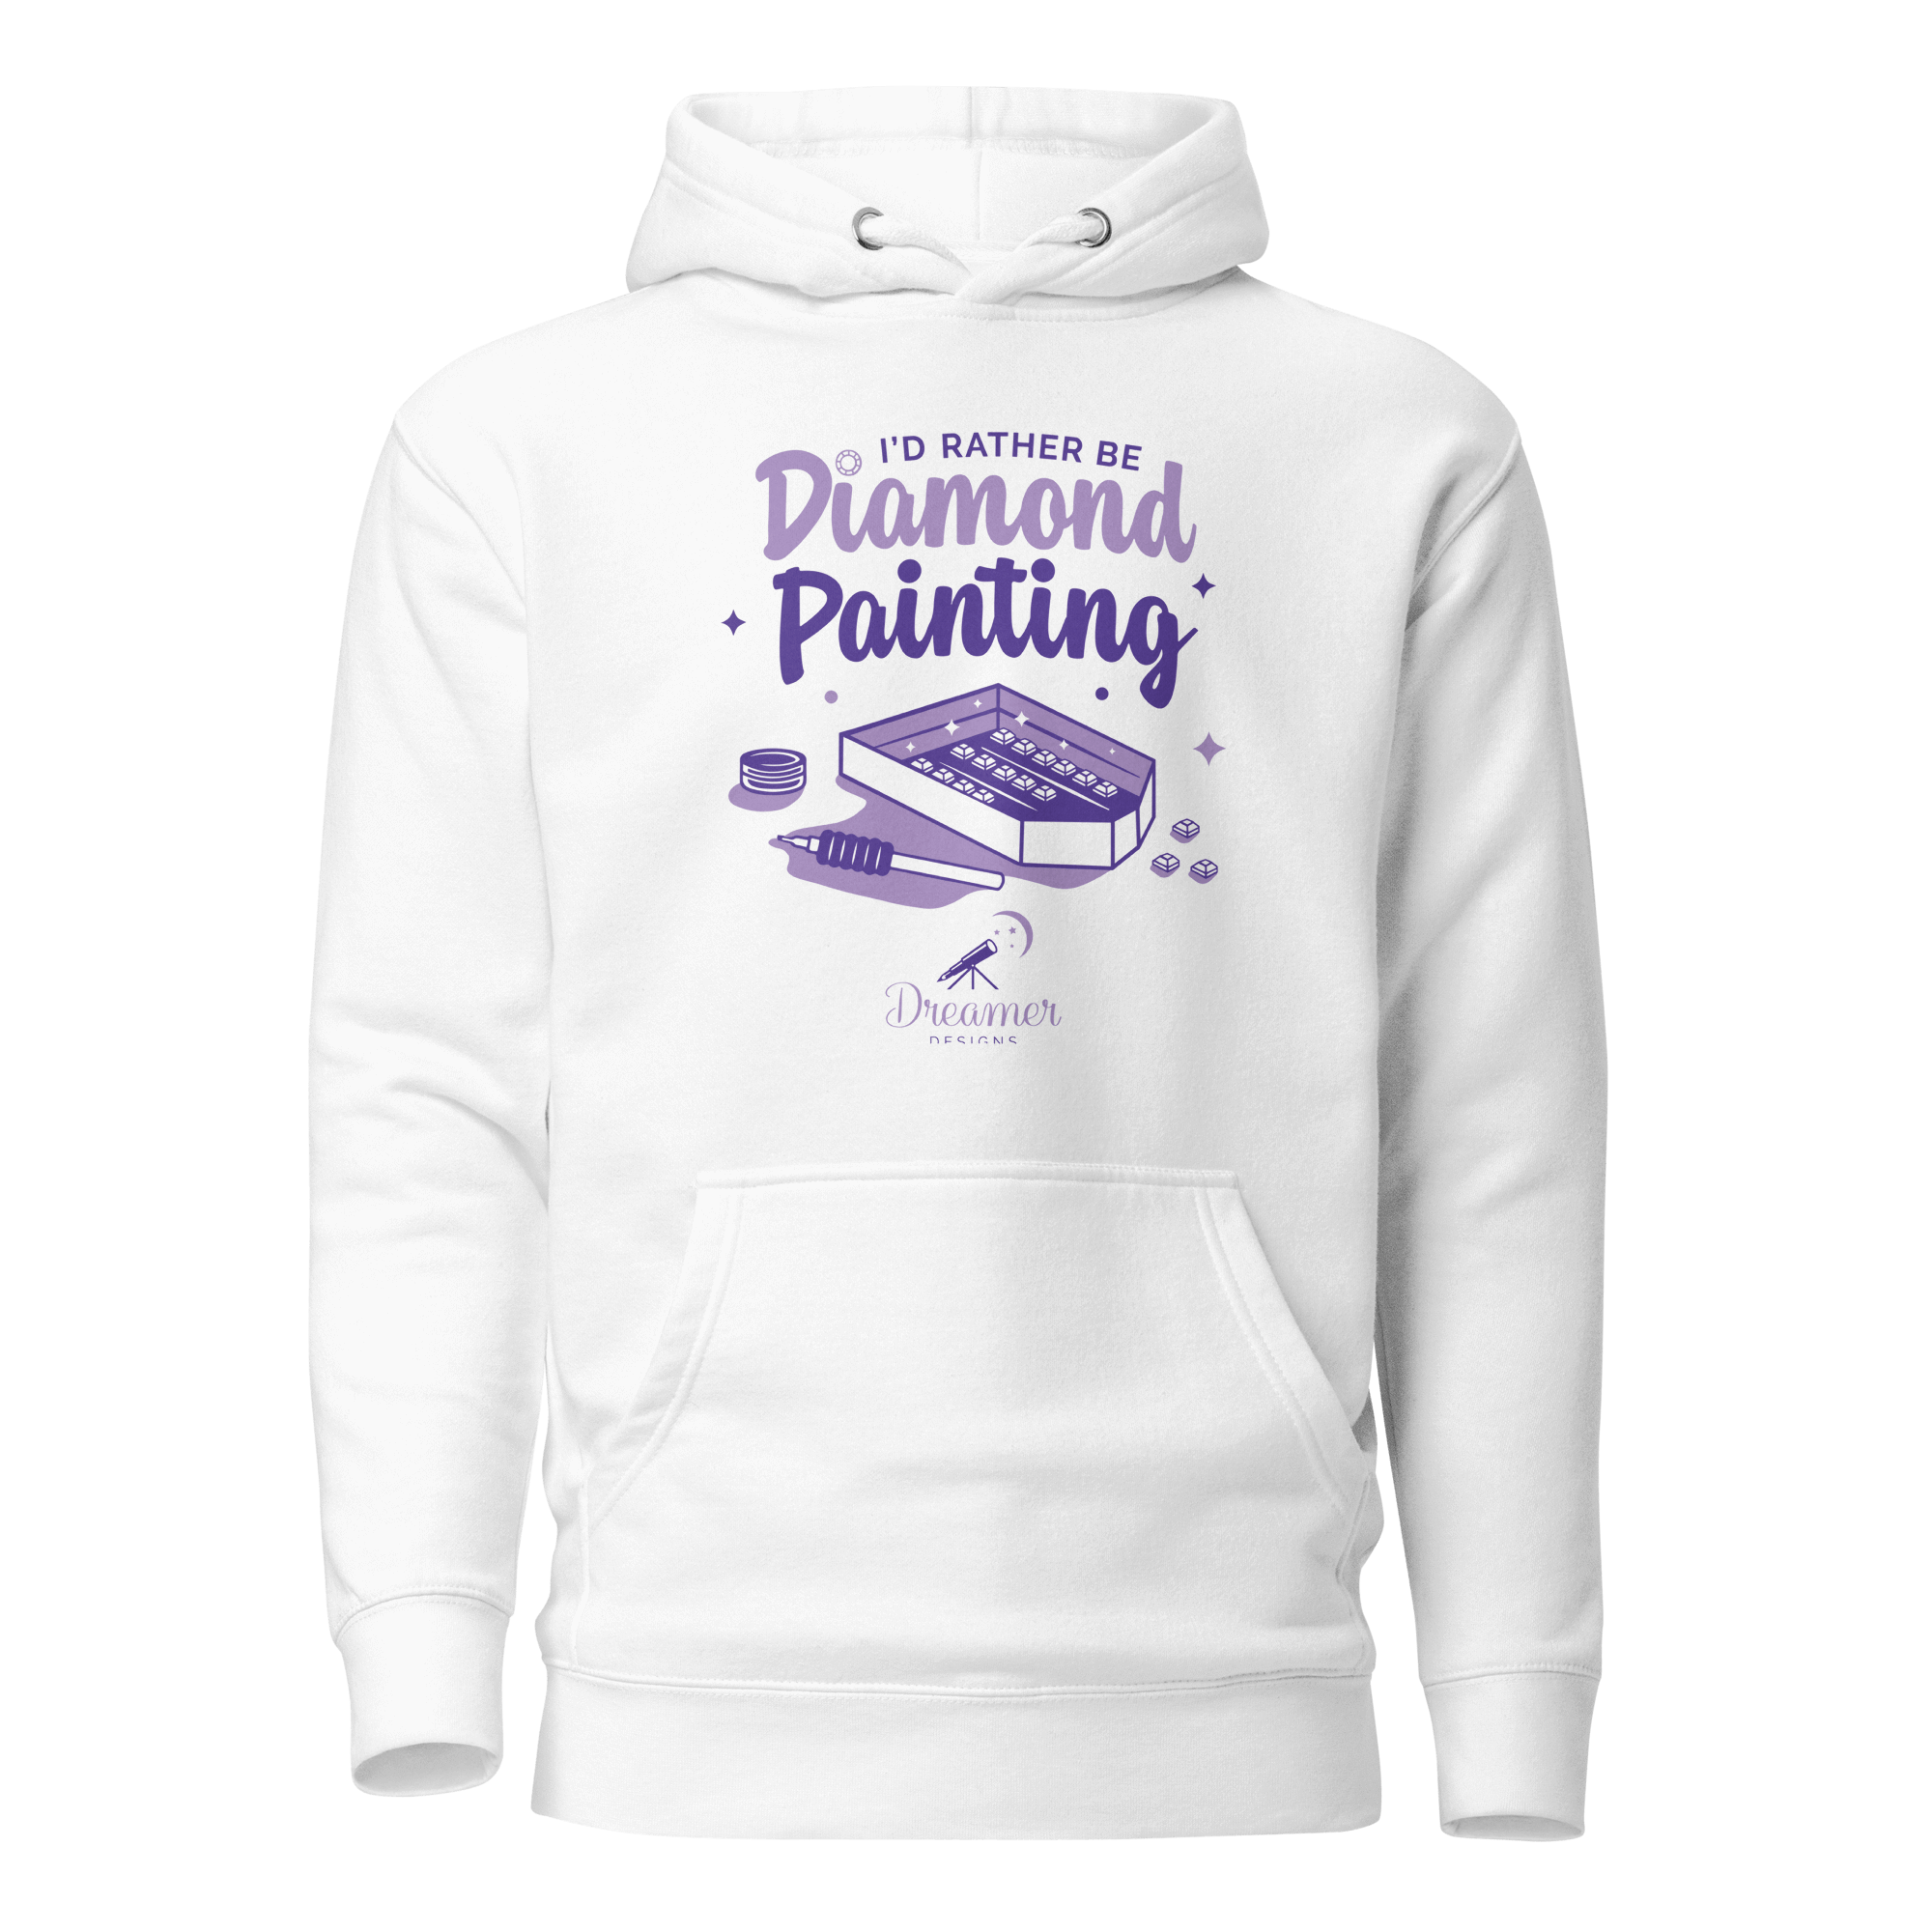
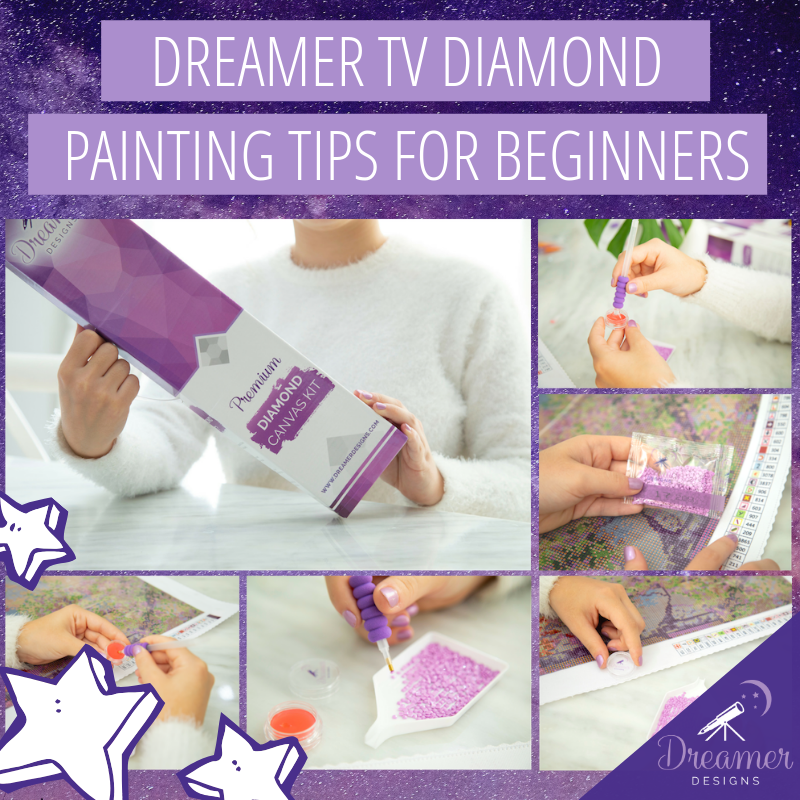
These tips and tricks from Nataliya a.k.a LoveCraftForever are specially focused on working with our Dreamer Designs - Diamond Canvas Kits. From cleaning up your canvas edges to keeping your hand grips in place, we show you some easy fixes for an even more effortless experience working with a quality DP kit.
Flattening out your canvas:
Straightening your canvas can be tough if you are working with a crumpled or folded diamond paint kit from a discount store. With Dreamer Designs our 100% fabric material flattens out in a flash. Simply pull back the clear plastic cover (about half way) and use a ruler to move back over the canvas by pressing the plastic firmly back down on the adhesive with the straight edge of the ruler. You can also use your hand or a rolling tool to re-stick it down as well.
Not only will this technique flatten the curling sides on the canvas, it will also smooth it out and reduce the air between the cover and adhesive. With our canvas you won’t have to worry about bubbles or creases within the glue.
Clear sheet reminder:
Completing a diamond painting can take weeks and sometimes months depending on your speed. This means that as your painting sits on the table - over time it will collect any dust, particles or pet hair. Not to worry, the integrity of the adhesive is preserved by the clear cover. However, a special tip to remember is to always keep the right side of the cover down. This ensures that if you remove the cover completely, you won’t accidentally place the wrong side down and transfer the particles onto the adhesive. This may happen if the cover is completely removed whilst working by colour or if you are wanting to adjust the placement. To prevent this from occurring you can place a sticker onto the cover as a reminder of the right side up!
Fraying edges solution:
As our canvases are made from 100% fabric - sometimes little threads may stick out from the sides over time. This is a completely natural response and not to be confused as low quality - in fact it is the opposite! To solve these frayed edges you can simply cut off the excess or if you want to go the extra mile, simply mix water and school glue to a 1:1 ratio. Use this solution and brush it along each edge of the canvas on the front and back sides.
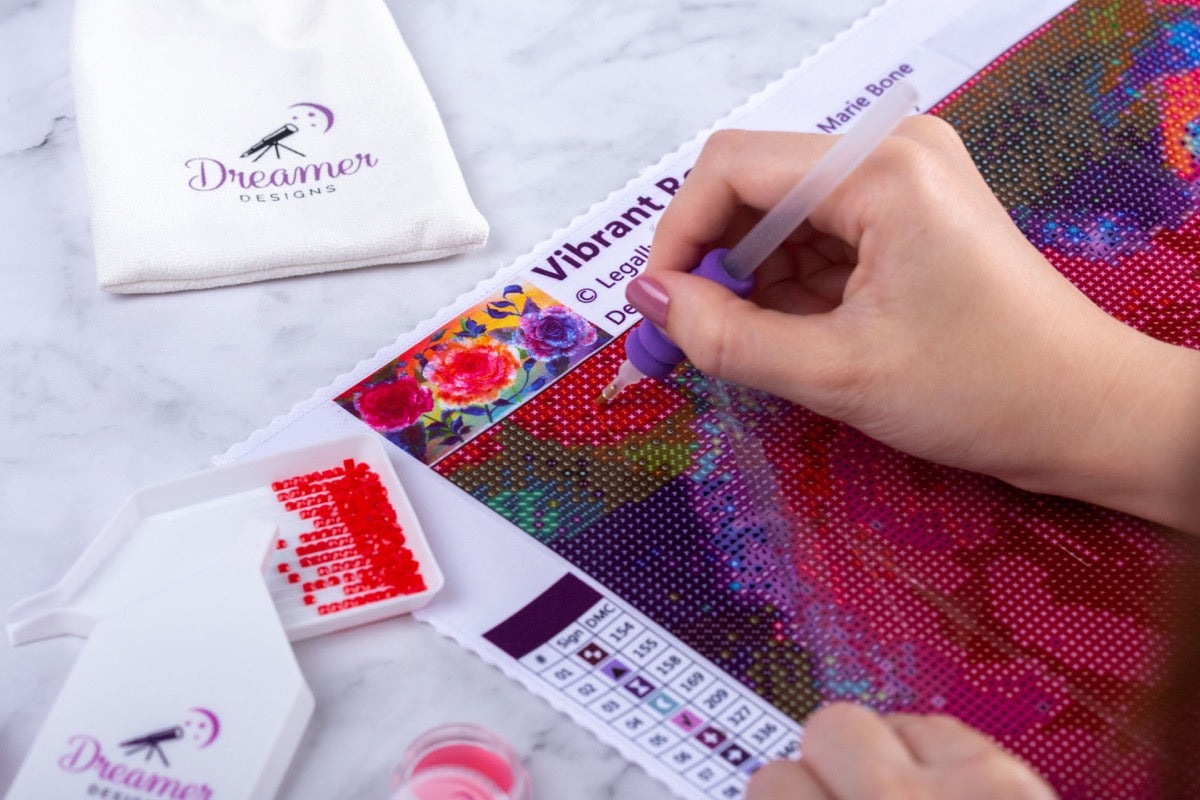
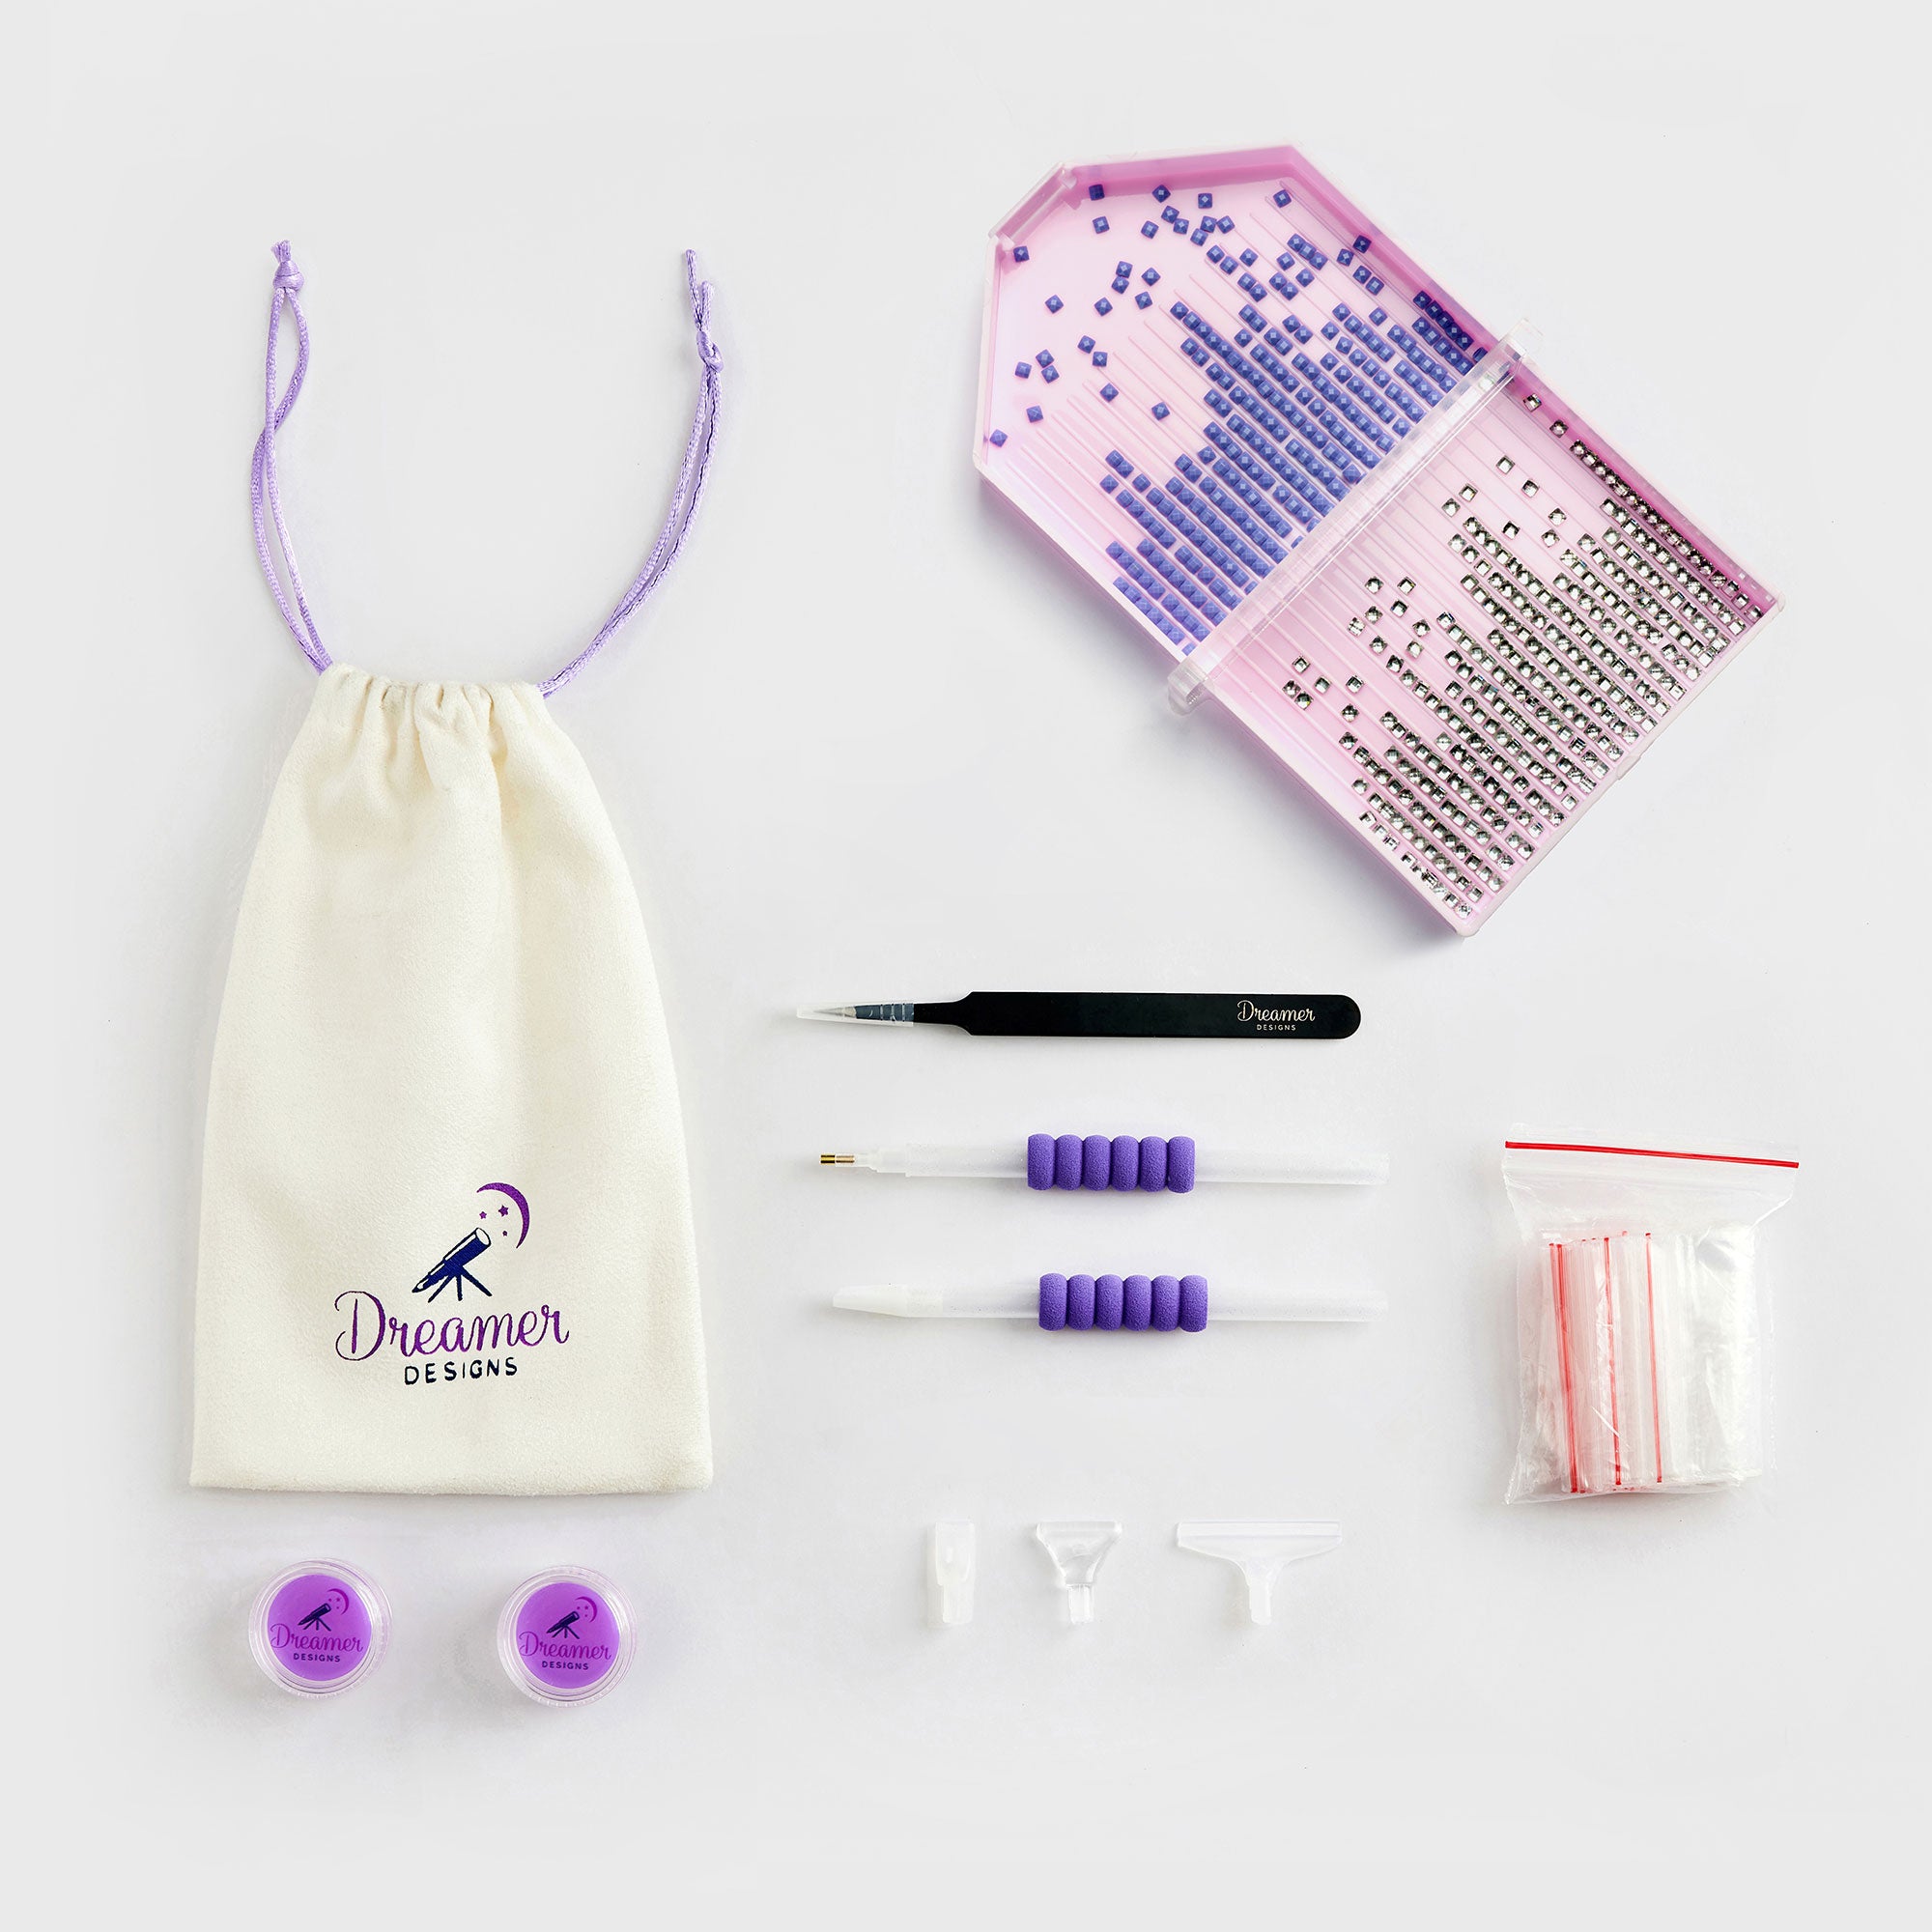
Stylus pen hand grips / squishies:
Sometimes these pretty purple hand grips can slide around. To keep them in place simply take some super glue on the end of a toothpick and spread the glue from the inside (between the pen and grip).
Lining up your drills perfectly:
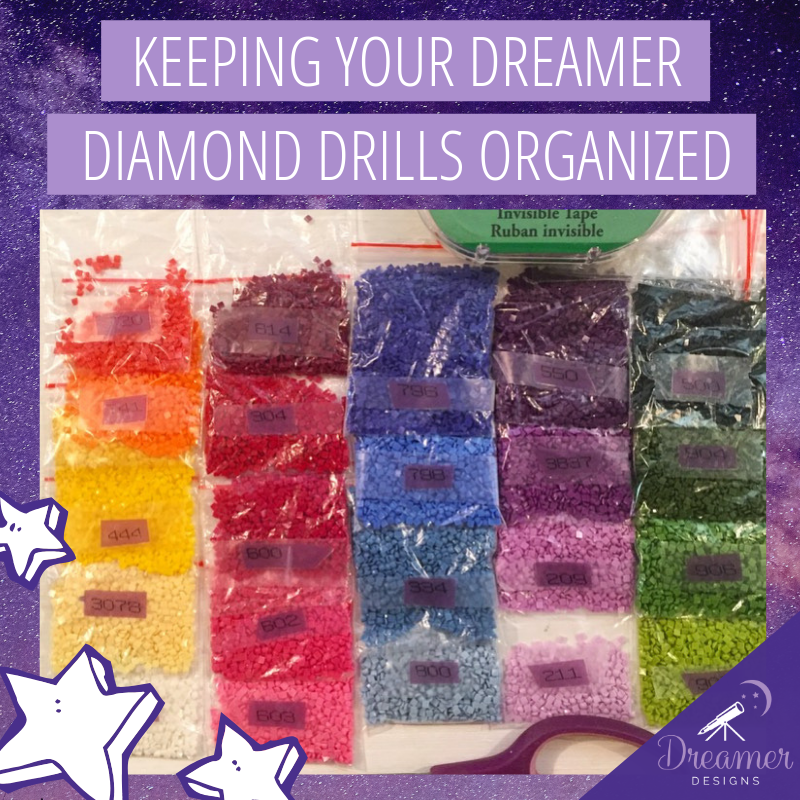
Using your Dreamer Designs white diamond tray, pour some diamonds in and continue to shake from left to right. To ensure the diamonds do not fall out through the spout you can place your thumb or pointer finger on it or put a ball of wax into the spout. It is ideal to shake from left to right or top to bottom to line up the diamonds between the ridges. To get them ultra perfectly positioned, tap it from one side to ensure they sit perfectly on one side of the ridge.
Alright Dreamers! These are our top tips when it comes to starting out with one of our diamond paintings. If you would like to watch the tutorial video click down below!
“How to go from 'Beginner' diamond painter to 'Expert' with just one video! Watch HERE.”

Leave a comment
All comments are moderated before being published.
This site is protected by hCaptcha and the hCaptcha Privacy Policy and Terms of Service apply.